Why a Scanner Preview Can Look Different from the Saved Photo
By ImgHeal · Updated
Compare preview and final scan settings before editing a saved image that appears darker, sharper, or differently cropped than expected.
Explore this topic: Improve capture and editing
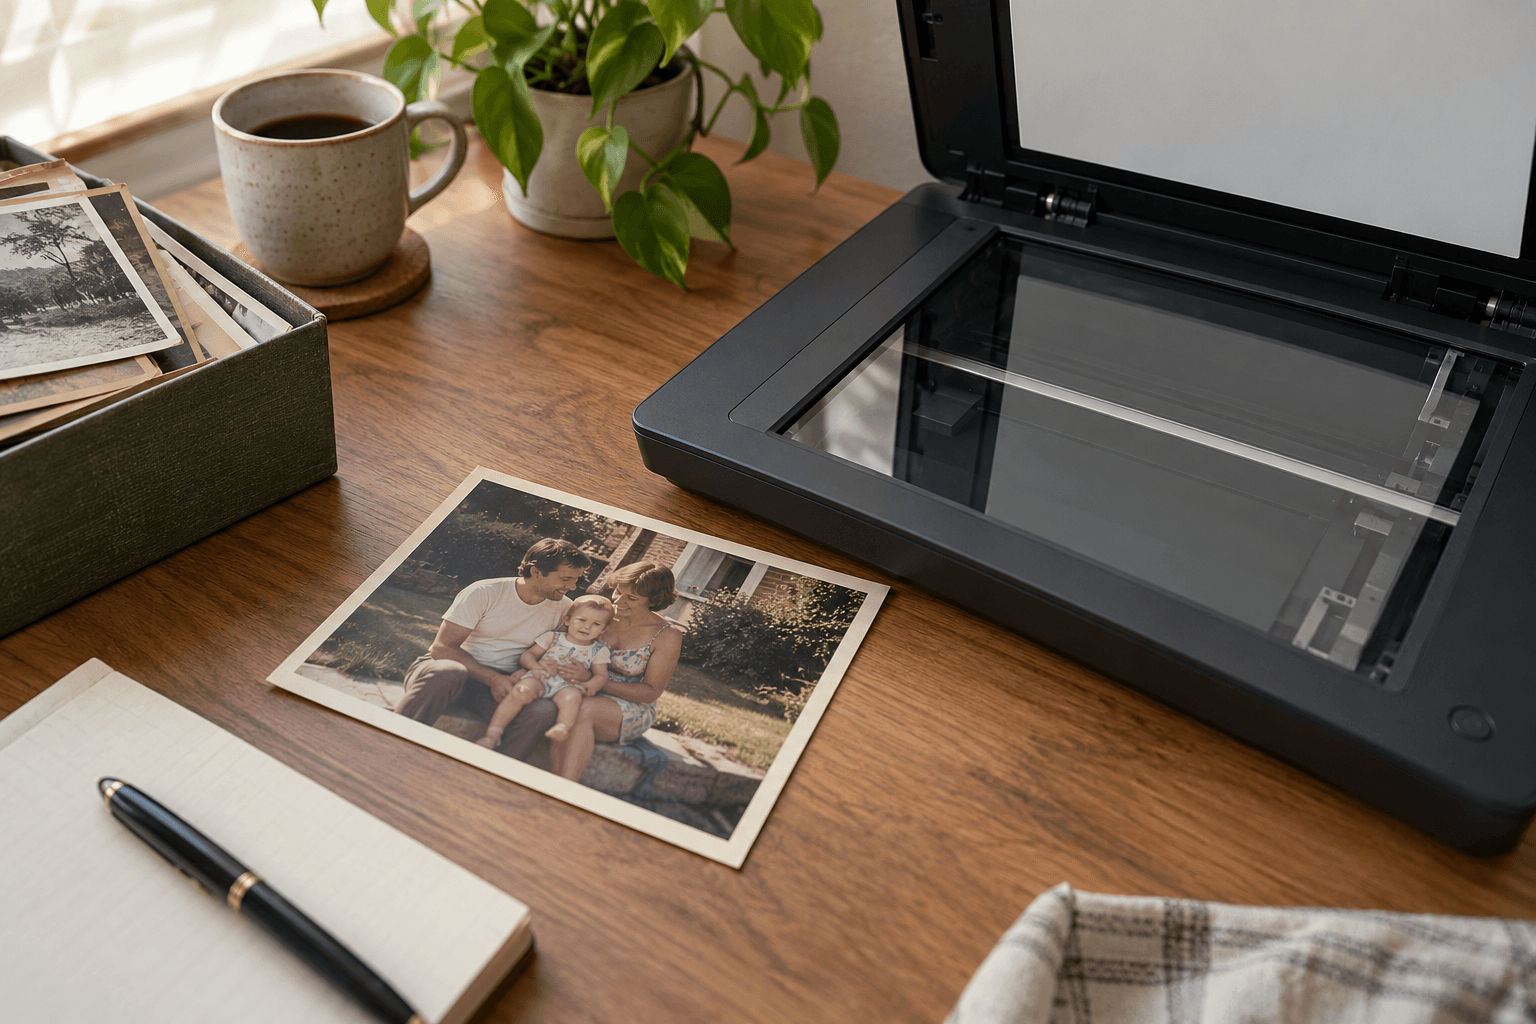
Identify which settings apply at export
Review the scan region, resolution, color mode, and automatic adjustments selected for the final capture. Some previews are only quick representations of the scene. Record the settings used for a trial rather than relying on remembered defaults. The saved file, not the preview window, is the source that a restoration service receives.
Compare at equivalent scale
Open the final image in a suitable viewer and compare the same region at a similar size. Preview scaling and sharpening can change apparent detail. Check pixel dimensions and borders as well as brightness. A smaller on-screen view can conceal a crop error or make paper texture look smoother than the actual saved scan.
Correct capture before restoration
If the final output loses useful tones or edges, adjust the capture settings and make a new trial. Keep a neutral source where practical and save edited presentation versions separately. Once the output matches the intended capture, document that setting combination so later scans in the session can be checked against a consistent reference.
Check before finishing
- Final scan settings are recorded.
- Views were compared at similar scale.
- The saved output passed review.
Continue with a related guide
Try a restoration on a copy of your photo
Keep the original scan. Upload a separate digital copy, review ImgHeal’s generated result, and decide whether it suits your needs.
Open ImgHeal