How Much Space Should You Leave Between Photos on a Scanner?
By ImgHeal · Updated
Test spacing and frame detection on stable loose prints before scanning several photographs together, and keep each source image complete.
Explore this topic: Improve capture and editing
Check what the scanner detects
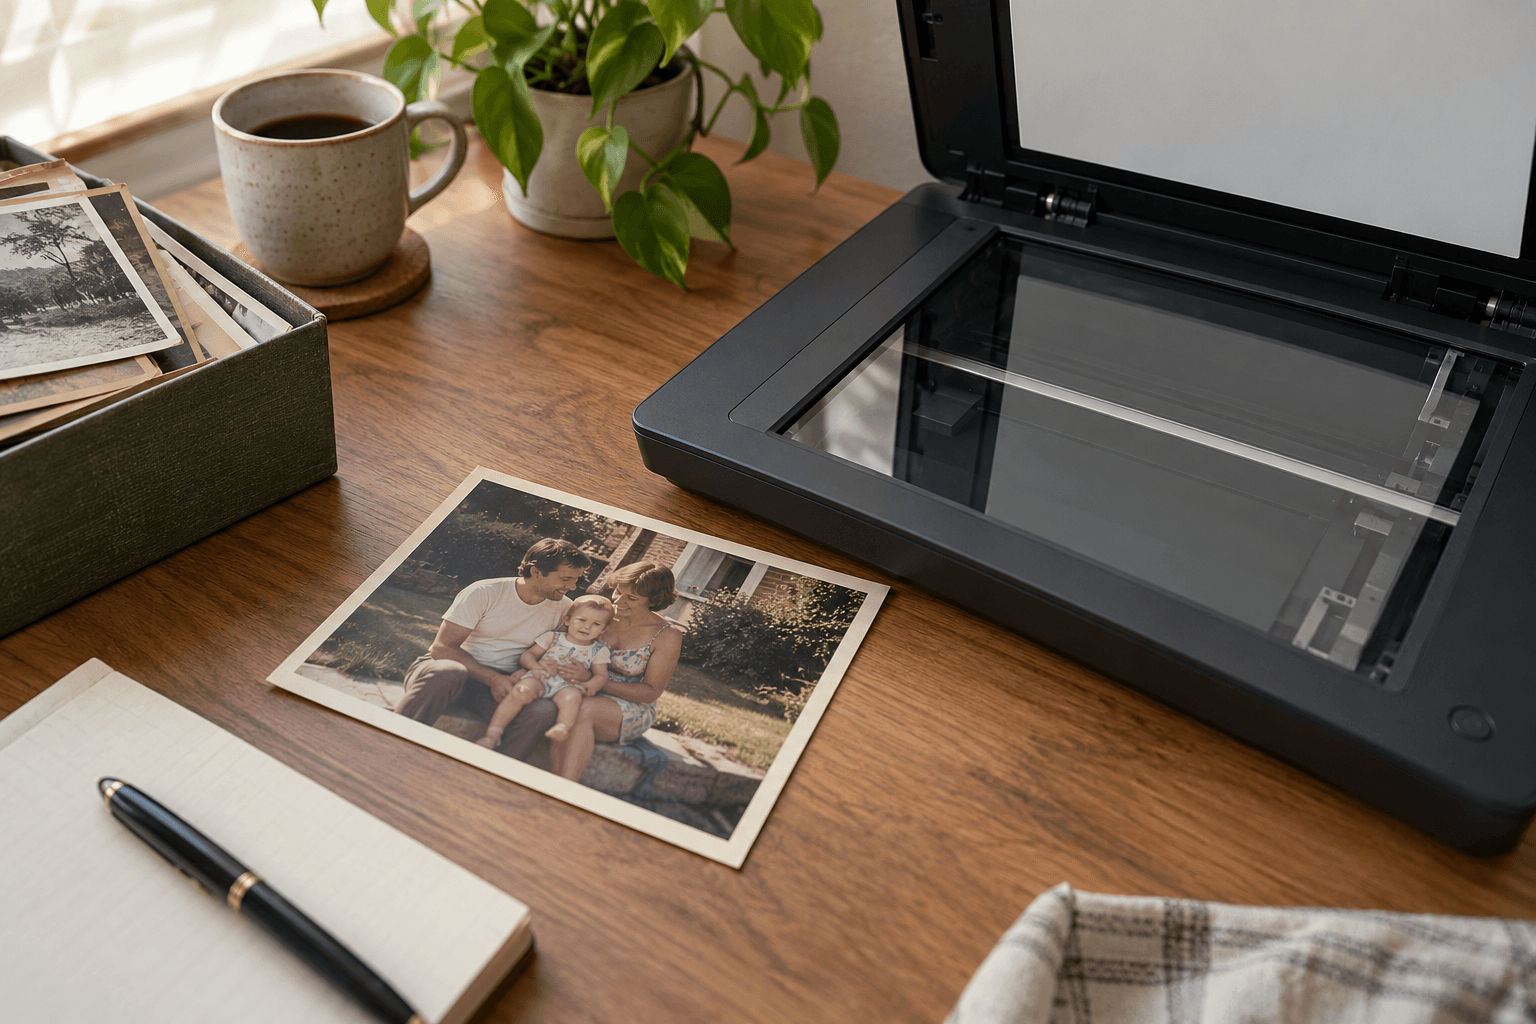
Place a small test group on the glass only when the prints are flat and safe to handle. Leave visible separation and preview the detected frames. Similar borders can be joined or missed by automatic selection. Do not overlap prints or use pressure to make an unstable photograph fit a batch layout.
Inspect every exported boundary
Open the actual files and check that corners, borders, and nearby handwritten marks are included. A neat preview rectangle may differ from the final automatic crop. If detection remains unreliable, select frames manually or scan separately. Saving time during capture is unhelpful if missing edges are discovered after the originals have been returned.
Keep the batch traceable
Record which output corresponds to each print before rearranging the scanner bed. Make retakes clearly distinguishable from the first exports. Compare the count with your intake list and retain complete source captures. Choose individual working copies for restoration after the batch has passed its boundary and identity checks.
Check before finishing
- Preview frames remain separate.
- Every exported edge was inspected.
- Outputs map to individual prints.
Continue with a related guide
Try a restoration on a copy of your photo
Keep the original scan. Upload a separate digital copy, review ImgHeal’s generated result, and decide whether it suits your needs.
Open ImgHeal