Which Photoshop Smart Sharpen Blur Model Should You Test?
By ImgHeal · Updated
Smart Sharpen offers several assumptions about the blur being addressed. Selecting one does not diagnose the photograph for you. Start by examining the source, then compare a small controlled test instead of accepting the most dramatic-looking preview.
Explore this topic: Improve capture and editing
Describe the source problem first
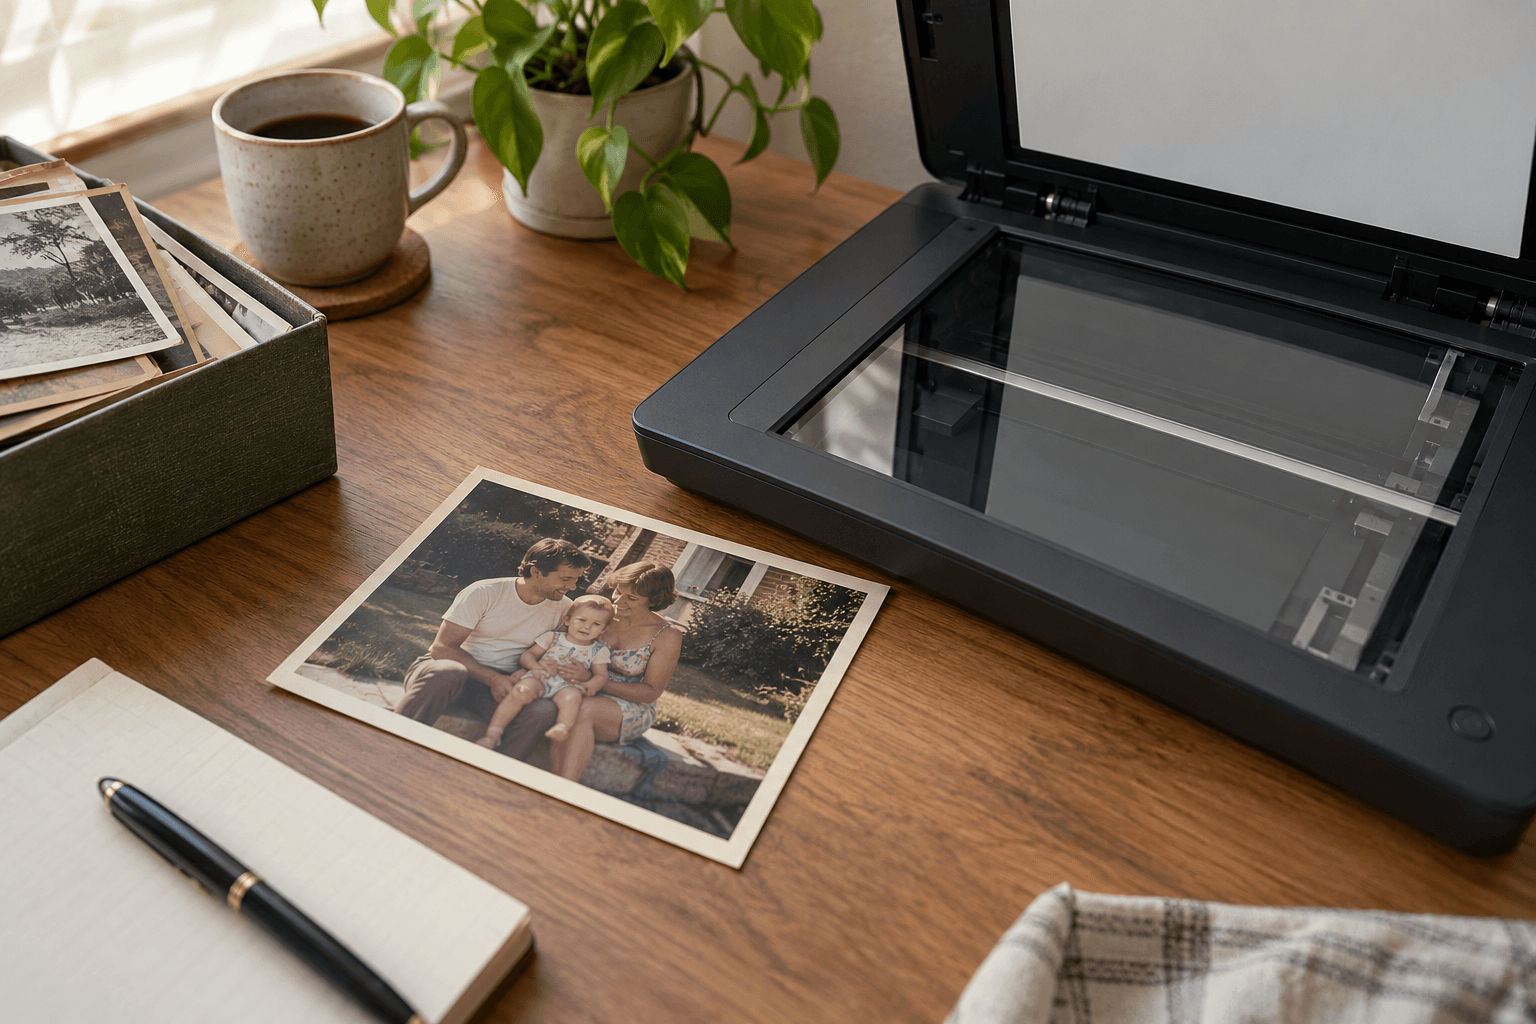
Inspect an untouched scan at actual-pixel scale. Note whether edges spread in one direction, appear generally soft, or are already surrounded by sharpening rims. Compare several unrelated features because a moving hand and a stationary background may have different blur. If the source is a camera copy of a print, consider whether the softness arose during copying. A new capture can sometimes provide more reliable information than sharpening a poor copy. Keep that diagnosis separate from the name of the filter option you later choose.
Compare the documented model choices
On a reversible Photoshop working copy, test the Gaussian, Lens, or Motion assumption appropriate to the observed problem. Hold overall strength and scale steady where possible so the comparison has meaning. For a directional test, assess more than one edge orientation. Watch faint lettering and overlapping contours for doubled lines or ringing. A setting that makes one feature look crisp may be a poor match elsewhere. Avoid claiming that the selected model reveals the original camera setting or definitively identifies the physical cause of blur.
Reject unsupported new certainty
Compare the preferred candidate with the retained source at normal viewing size. Check whether an ambiguous line has become an overly confident edge, and whether noise now resembles tiny invented texture. Reduce the effect or keep the softer source when that better preserves the photograph. Save the filter parameters in an editable project and export a clearly identified viewing version. Smart Sharpen is a Photoshop workflow, not an ImgHeal control, and its output should be reviewed independently if you also compare an AI-restored version.
Check the working document
- The source blur was described before choosing a model.
- Comparable regions and edge directions were tested.
- Ringing and false-looking detail were rejected.
Sources and further reading
- Adobe: Smart Sharpen controlsDescribes the documented blur models and sharpening parameters.
Questions about this restoration task
Does choosing Motion prove the photo has camera shake?
No. It selects a processing assumption. Source examination and comparison remain necessary, and the photograph can contain several types of softness at once.
Continue with a related guide
Try a restoration on a copy of your photo
Keep the original scan. Upload a separate digital copy, review ImgHeal’s generated result, and decide whether it suits your needs.
Open ImgHeal