How to Test Photoshop Unsharp Mask on an Old Photo
By ImgHeal · Updated
Unsharp Mask can make an old photograph feel clearer while also exaggerating damage. Its controls address different aspects of edge contrast. A small, repeatable test is more useful than applying a favorite preset to every scan in a family collection.
Explore this topic: Improve capture and editing
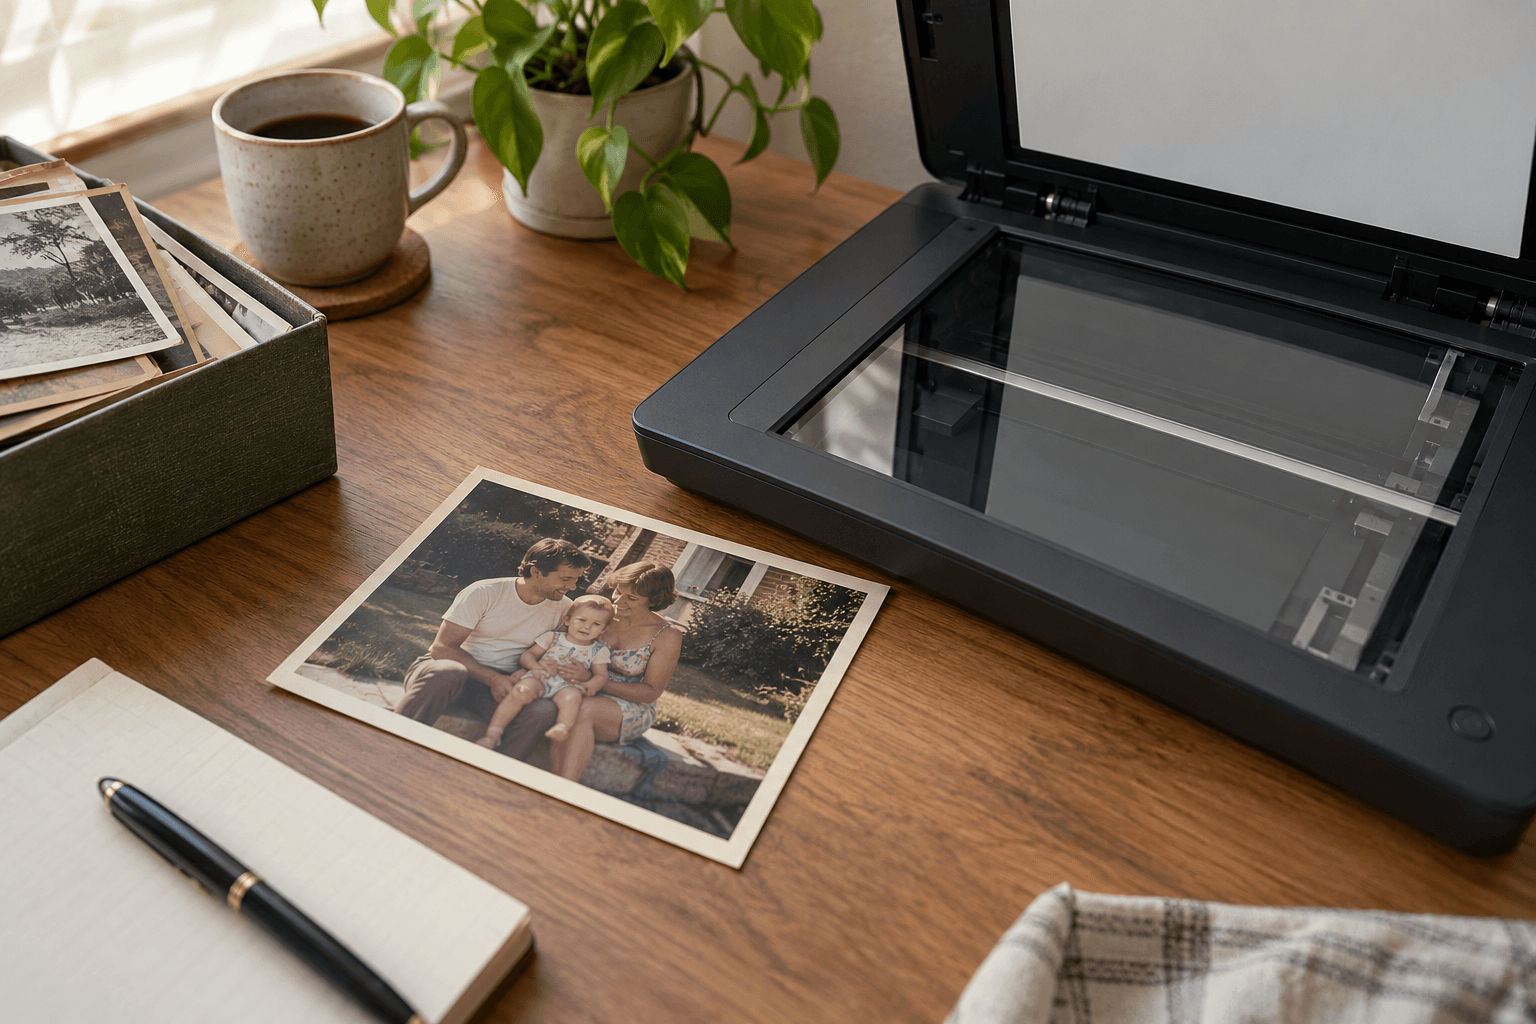
Choose a crop with competing details
Use a retained source and a reversible filter arrangement in Photoshop. Find a region containing a meaningful edge, a smooth tone, and some natural texture or grain. View at actual-pixel scale and note the starting appearance before adjusting anything. A close crop containing only a sharp building edge can conceal damage to nearby facial texture. Include a faint feature you want to preserve so you can see whether sharpening separates it or merely surrounds it with a conspicuous light and dark rim.
Change one control at a time
Amount governs the strength of the contrast increase, Radius changes the affected edge neighborhood, and Threshold limits which tonal differences are treated. Test a restrained setting, then vary one control while leaving the others fixed. Record the useful range rather than a universal ideal number. Higher threshold can leave some low-contrast texture less affected, but it may also leave a faint genuine feature soft. A smaller radius is not automatically correct when the source has already been resampled to a very different pixel size.
Compare against an unsharpened export
Judge the whole photograph at its intended sharing or print size, not only at a large zoom. Inspect grain, scratch boundaries, and bright outlines against dark clothing. Keep an unsharpened working source so each output size can receive an appropriate final treatment. Reopen the exported copy and compare it with the filter preview. These controls belong to Photoshop; an automated ImgHeal version is a separate candidate to review. Neither a numerical sharpening setting nor a sharper-looking edge proves that the source recorded additional detail.
Check the working document
- The test crop includes smooth and detailed regions.
- Only one sharpening parameter changed at a time.
- The final size was judged against an unsharpened copy.
Sources and further reading
- Adobe: Unsharp MaskDocuments Amount, Radius, and Threshold sharpening controls.
Questions about this restoration task
Can one Unsharp Mask preset suit every old scan?
Different pixel dimensions, source softness, grain, prior sharpening, and output sizes produce different effects. Test representative source detail instead of assuming a fixed preset is suitable.
Continue with a related guide
Try a restoration on a copy of your photo
Keep the original scan. Upload a separate digital copy, review ImgHeal’s generated result, and decide whether it suits your needs.
Open ImgHeal