What to Do When a Photo Archive Checksum Does Not Match
By ImgHeal · Updated
A checksum mismatch means a file does not match the recorded bytes under the same hashing algorithm. It does not tell you why. Preserve the unexpected file and its earlier manifest, check for intentional edits, and compare independent copies before replacing anything or resetting your baseline.
Explore this topic: Troubleshoot photo files
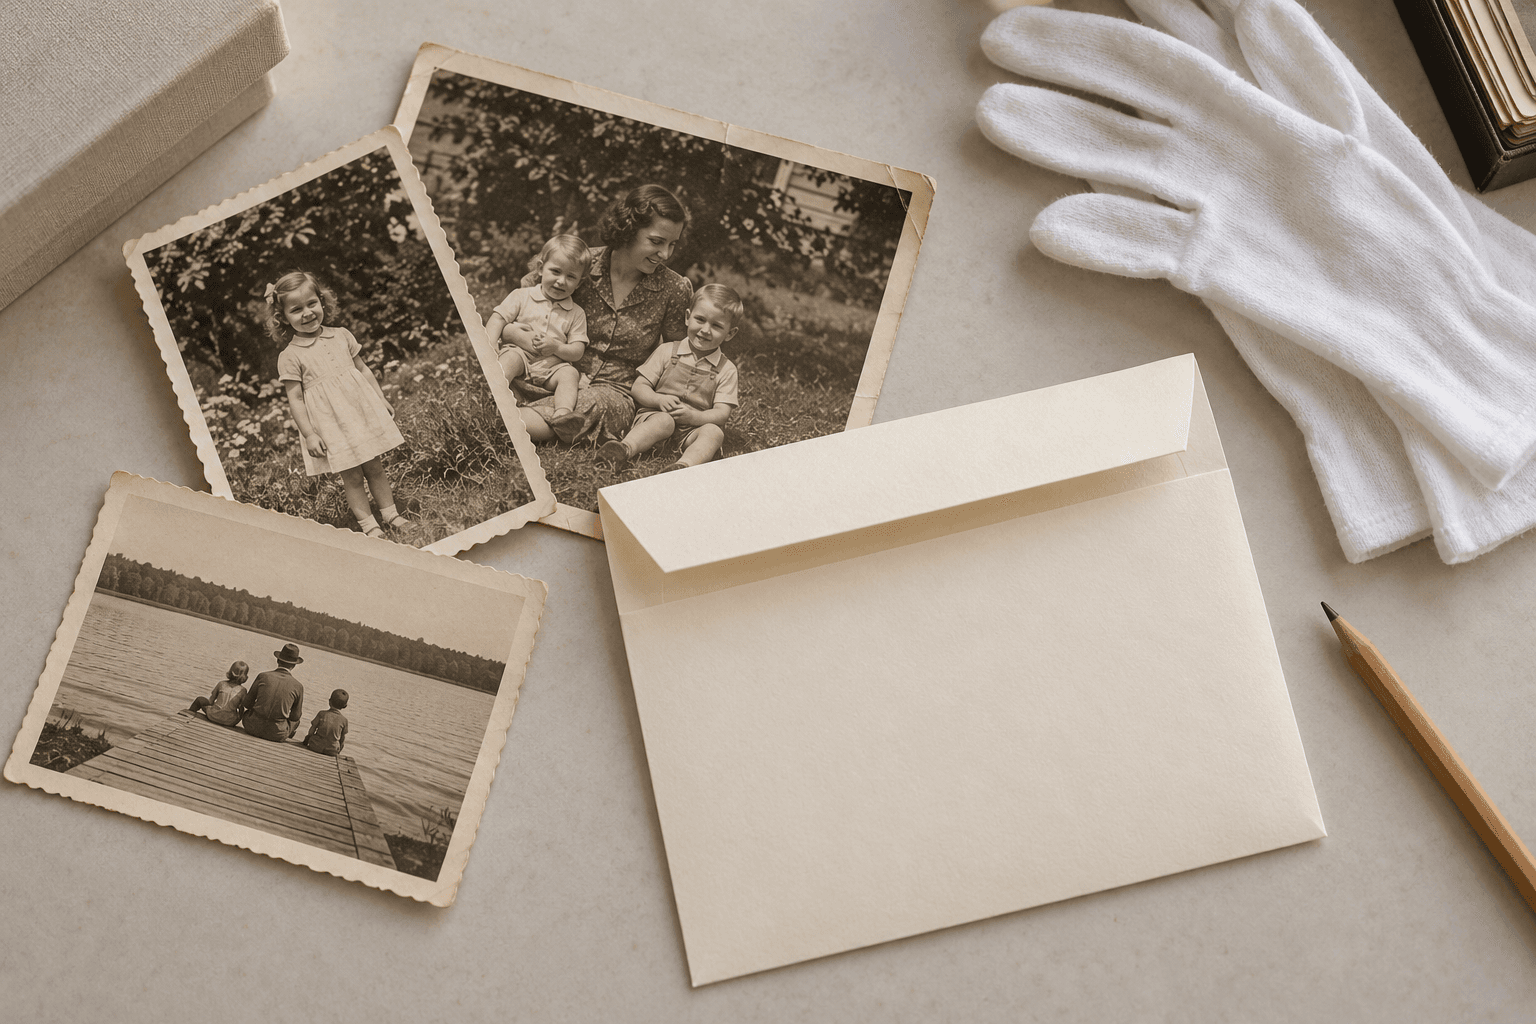
Preserve the failed check before changing files
Record the filename, full path, expected hash, observed hash, algorithm, and check date. Save the validator's report. Keep the suspect file separately identified so a synchronization job does not silently replace the last known good copy with it. If the device is disconnecting or reporting read errors, avoid repeated experiments on the only source and seek appropriate recovery help.
Check that the manifest belongs to this collection version. A restored JPEG should not be compared with the TIFF source's hash. Similar names, moved folders, and manifests from an earlier delivery can create a misleading comparison even when both files are readable. Match the stable item ID and file role before drawing a conclusion.
Repeat one read-only check with the same algorithm
On Windows, PowerShell's Get-FileHash can compute a SHA-256 digest without modifying the image. Replace the example path and compare the result with the recorded SHA-256 value. Do not compare it with an MD5 or SHA-512 entry. If the read itself fails, retain that failure as part of the incident rather than treating an empty result as a valid hash.
Get-FileHash -LiteralPath "D:\PhotoArchive\PH-0001-front.tif" -Algorithm SHA256| Observation | Next check |
|---|---|
| Known metadata or image edit | Confirm its version history; preserve the earlier master |
| Same scene, different file role | Locate the manifest entry for that exact derivative |
| Unexpected hash plus read errors | Protect independent copies and investigate the device |
| Backup matches the older manifest | Test a separate recovery copy before replacement |
Distinguish intentional change from loss
An intentional metadata update changes file bytes even if the picture looks identical. Consult the edit log and earlier copies. If a change is explained and approved, create a versioned baseline with that explanation; keep the old record. If the cause is unknown, do not simply regenerate the manifest and call the problem fixed. That would record the unexpected state without explaining it.
Compare an independent backup against the trusted older digest. Recover a matching candidate into a separate location, open the full image, and confirm its item identity and associated caption. Hash that recovered copy again after transfer. Only replace the working archive through your documented recovery process, retaining incident notes and a rollback copy where practical.
Keep restoration outside integrity recovery
ImgHeal creates edited viewing copies. It cannot turn a damaged file into the exact original bytes needed to satisfy an old checksum. Once you have recovered a usable source, restoration can be a separate creative step with its own filename and hash. Record the new derivative without changing the original master entry or implying that a visually pleasing image proves successful archival recovery.
Checksum incident record
- Retain expected and observed hashes with their algorithm.
- Check the manifest version and exact file role.
- Recover into a separate location.
- Verify a replacement before accepting a new baseline.
Sources and further reading
- Digital Preservation Coalition: Fixity and checksumsExplains integrity checking and the need to investigate unexpected changes.
- Microsoft: Get-FileHashDocuments read-only hash calculation and explicit algorithm selection.
Questions about this restoration task
Does a matching checksum prove that a photo was always correct?
It establishes agreement with the recorded reference bytes. A reference made after damage or an unwanted edit can preserve that problem faithfully. You still need a trusted baseline and a visual check.
Continue with a related guide
Try a restoration on a copy of your photo
Keep the original scan. Upload a separate digital copy, review ImgHeal’s generated result, and decide whether it suits your needs.
Open ImgHeal