Is Your New Photo-Scanning Folder Actually Being Backed Up?
By ImgHeal · Updated
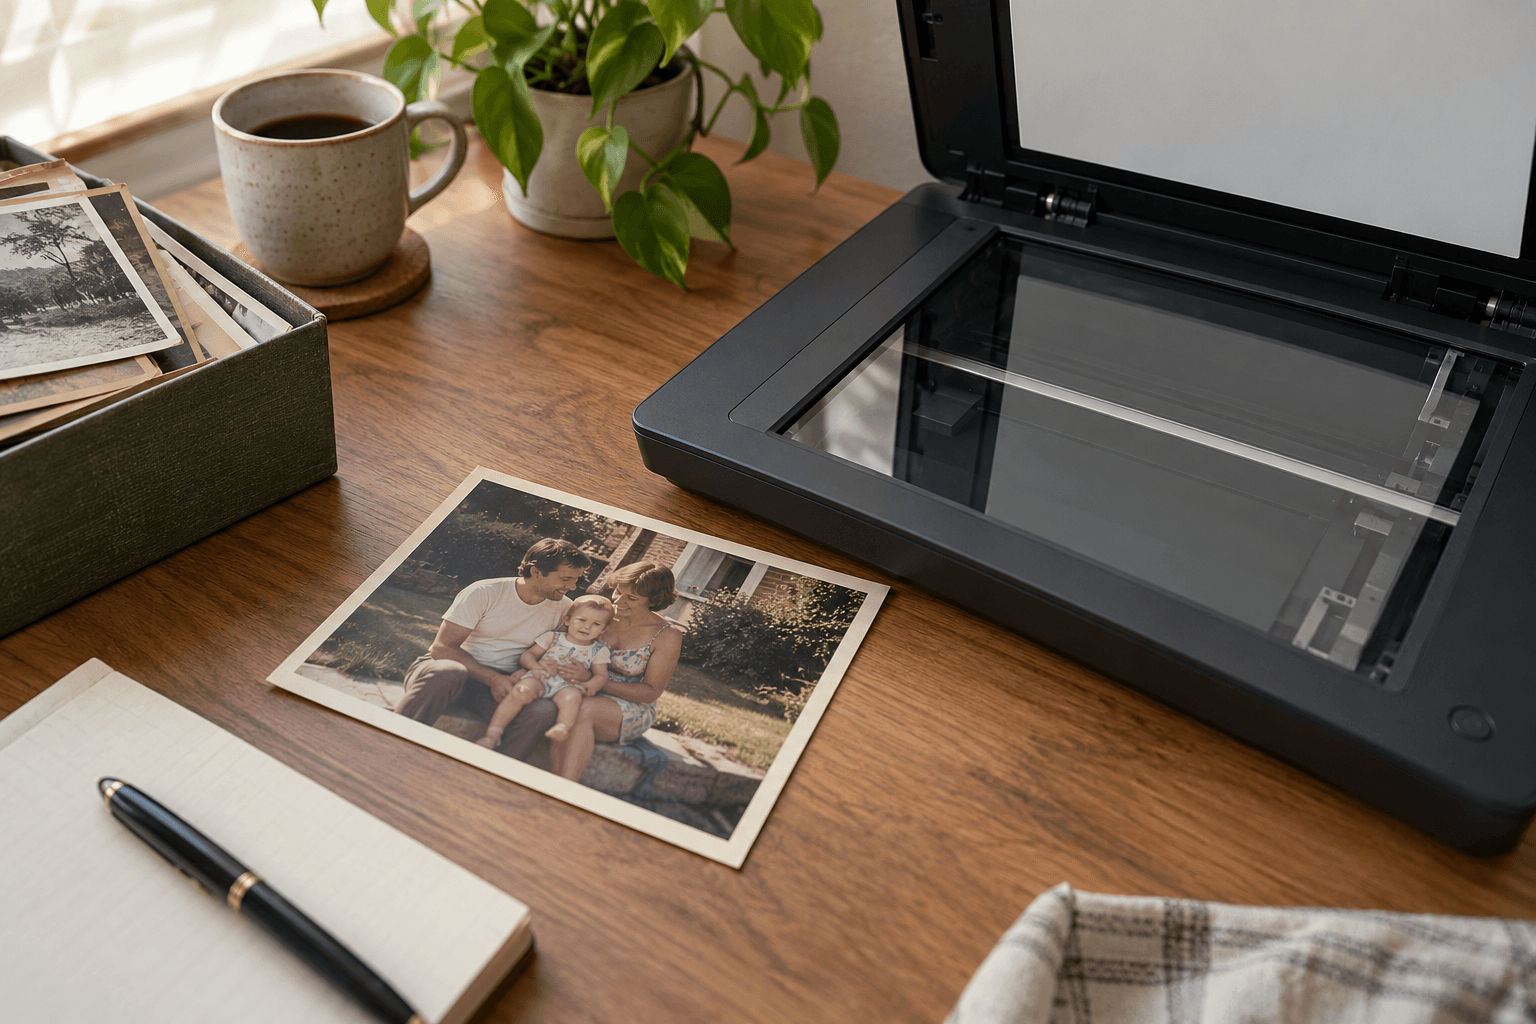
A freshly scanned box of family photographs may live outside the usual Pictures folder. A successful backup notification does not tell you whether that particular folder was included. Check its coverage before the next sorting session.
Explore this topic: Organize a photo archive
Locate the real folder
Open a newly scanned photograph and reveal its location in the file manager. Record the complete parent folder, including the disk or account it belongs to. A shortcut on the desktop can hide an unexpected destination. Check one recent scan and one older scan from the same project, because a changed scanner preset may have started a second folder without making that obvious in the application.
Compare it with the backup selection
Read the chosen backup application's coverage settings. On Windows, Microsoft documents File History around supported personal folders and libraries; an arbitrary new folder should not simply be assumed included. Check whether your scan location is explicitly covered or included through the documented library mechanism. If another backup program is used, follow its own selection rules rather than applying the File History instructions to it.
Use a recognizable coverage marker
Create a small, harmless text note in the scanning folder with today's date and a distinctive phrase. Complete the next backup, then browse that backup through its normal recovery interface. Look for both the note and an actual recent scan. Finding the marker checks location and timing together; it does not prove that every image is intact, so open a restored image from a separate temporary location as well.
Record changes to the scanning destination
Write down the covered path beside your scan-session notes. Recheck it whenever a scanner update, new disk, or new user account changes where files are saved. Keep the backup selection narrow enough to understand without excluding the masters you need. Once the source scans are protected, make separate working copies for ImgHeal or another editor so an output folder is never mistaken for the only archive.
Check before you finish
- Reveal the real scan folder, not its shortcut.
- Find that path in the backup selection.
- Recover a recent scan into a separate test folder.
Sources and further reading
- Microsoft: Backup and restore with File HistoryExplains folder coverage, previous versions, and restoring to another location to avoid replacement.
Questions about this restoration task
Does a successful backup message prove the scan folder was included?
No. It describes the configured job. Confirm that your actual scan location falls within that job, then browse a completed backup for a recent file.
Continue with a related guide
Try a restoration on a copy of your photo
Keep the original scan. Upload a separate digital copy, review ImgHeal’s generated result, and decide whether it suits your needs.
Open ImgHeal