How to Plan Digitization When a Photo Has a Tissue Overlay
By ImgHeal · Updated
Record an album's protective tissue and image context without lifting adhered or fragile material merely to obtain a cleaner restoration source.
Explore this topic: Scan special originals
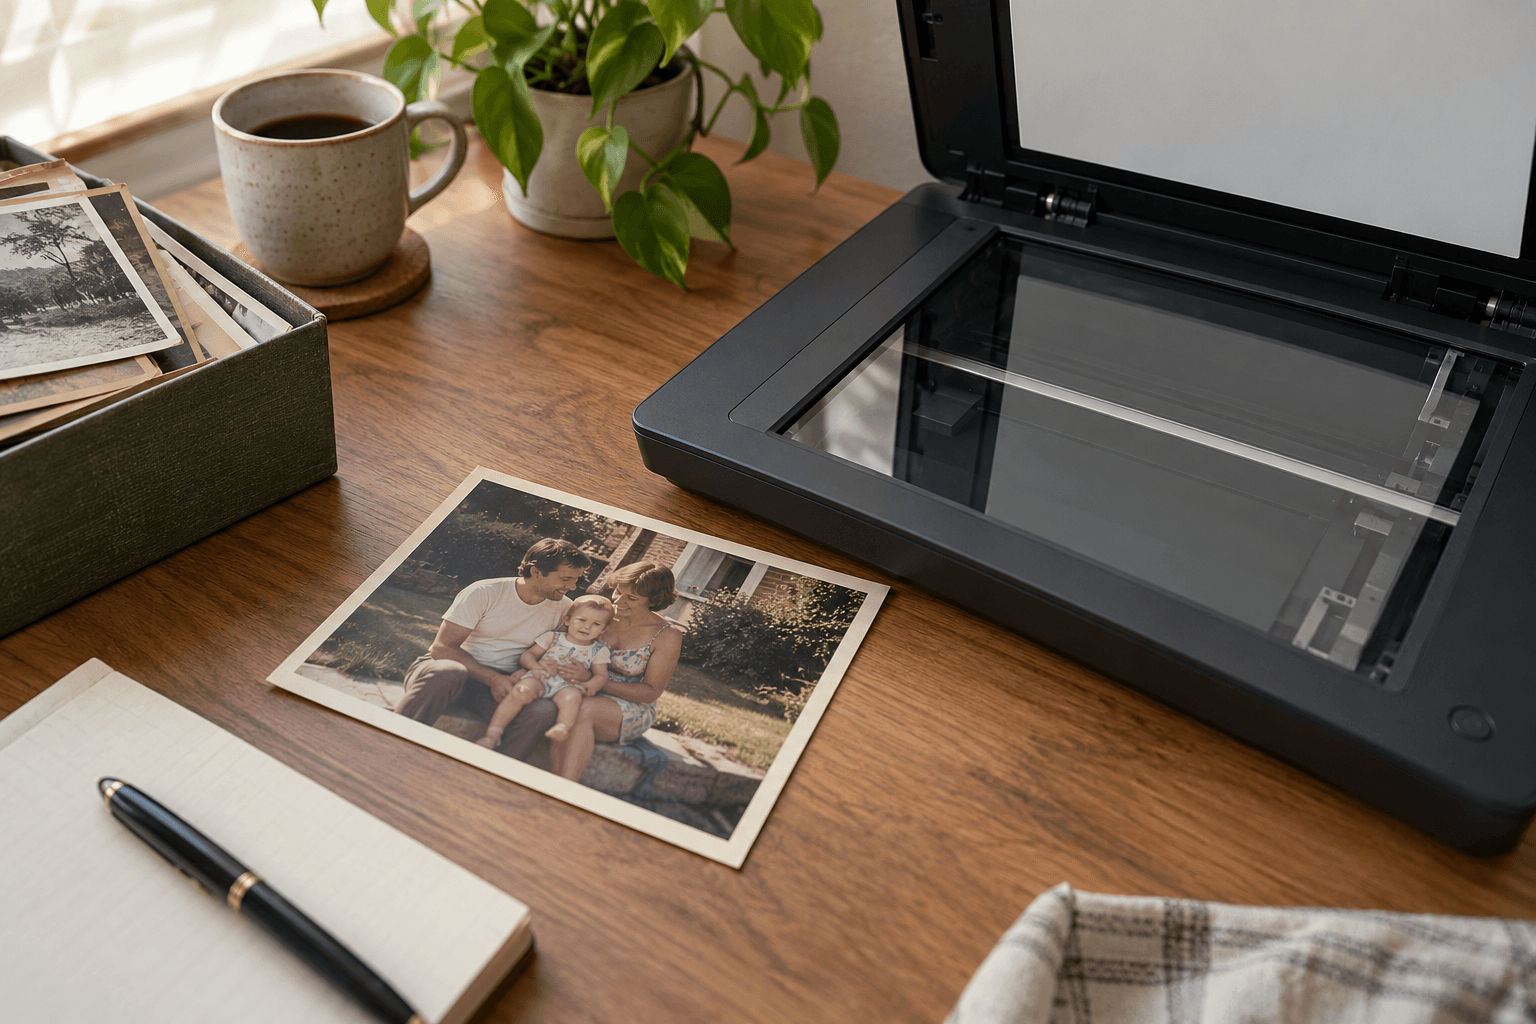
Observe the overlay's condition
Check whether the tissue is loose, attached to the album, torn, or stuck to the image. Do not test adhesion by pulling. Record what can be seen in its resting state. If it appears attached to the photographic surface, seek preservation advice before attempting to move it or copy the hidden image.
Capture available context
For safely accessible material, record the page, overlay, captions, and photograph as connected views. Keep support under the binding and avoid pressure. A translucent layer can lower contrast or add texture to a capture. Record that limitation rather than immediately treating it as fading or damage within the photograph itself.
Choose the source honestly
Use the clearest safely obtained image for a working restoration copy. Preserve the contextual views and any areas the tissue obscures. Automated enhancement may create detail through the overlay that the capture did not record. Label that uncertainty and prefer another surviving print when available instead of taking physical risks to improve one digital source.
Check before finishing
- Adhered tissue is not pulled away.
- Page and overlay context are recorded.
- Obscured detail remains explicitly uncertain.
Continue with a related guide
Try a restoration on a copy of your photo
Keep the original scan. Upload a separate digital copy, review ImgHeal’s generated result, and decide whether it suits your needs.
Open ImgHeal