How to Make a Fair Before-and-After Photo Comparison
By ImgHeal · Updated
Match framing, scale, and display conditions so viewers can assess a restoration without being misled by a smaller, darker, or differently cropped source image.
Explore this topic: Share restored photos
Use the actual source
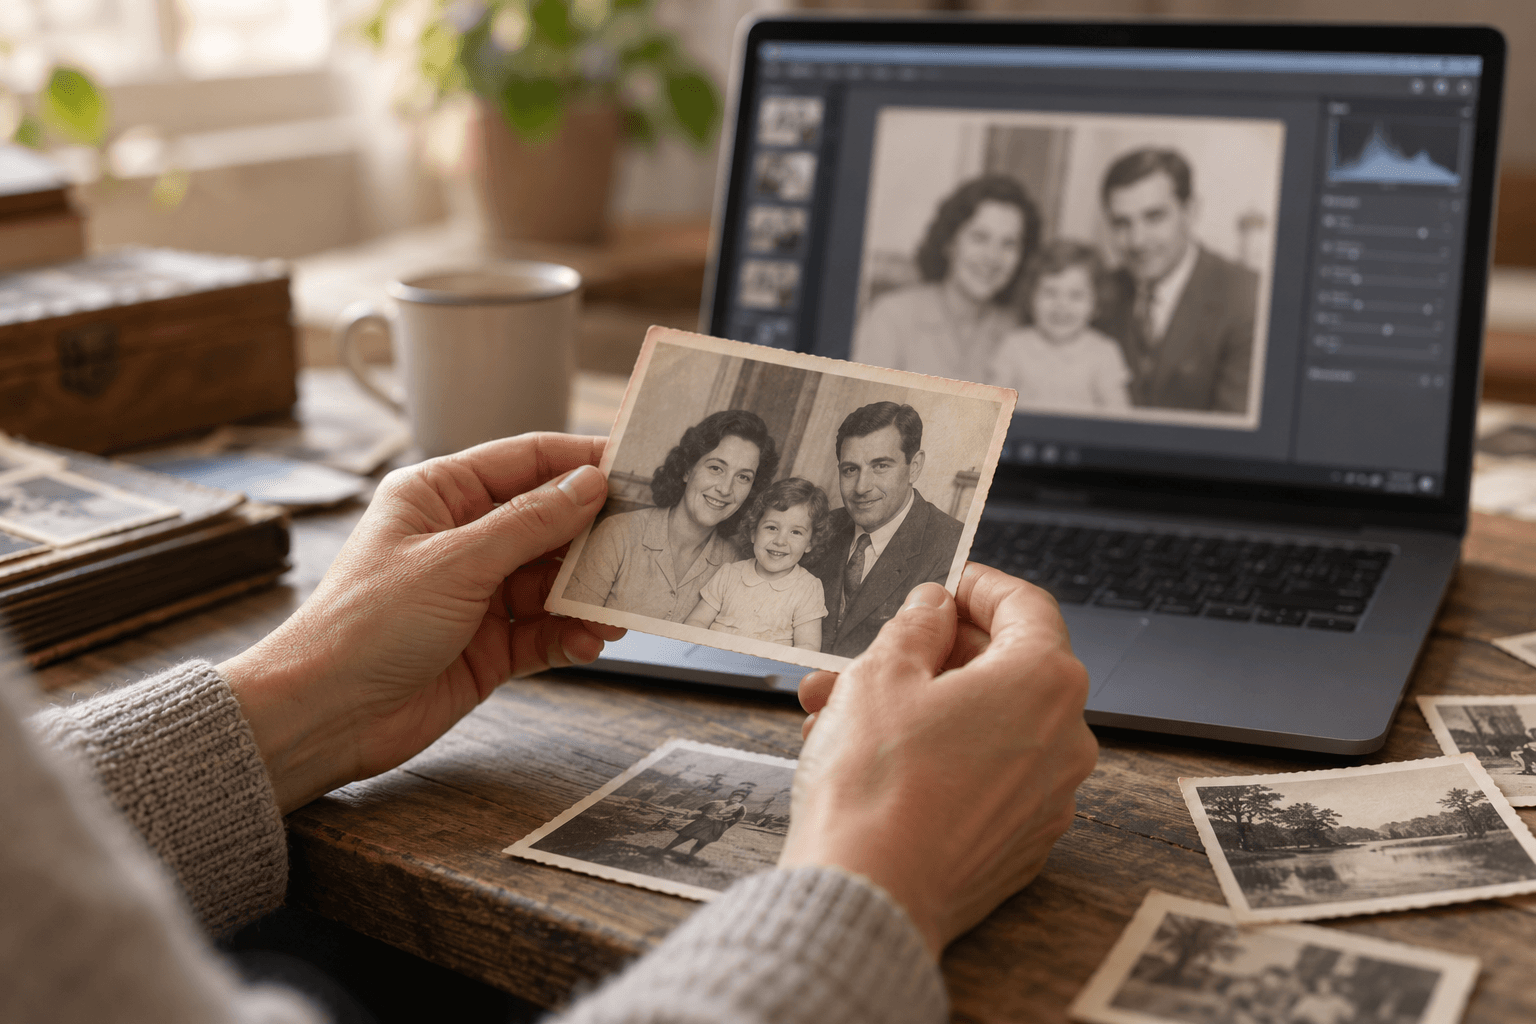
Choose the file that was used for restoration rather than an especially poor screenshot. Keep the original framing visible or clearly disclose a display crop. Label source and edited versions. A comparison should show what changed in this process, not imply that an unrelated low-quality preview represents all the information available before editing.
Match the presentation
Place both images at equivalent scale and use comparable surrounding backgrounds. Avoid enlarging only the restored face or dimming the source. If dimensions changed, explain the difference without calling added pixels recovered detail. Include an important close crop where useful, but let viewers see the complete scene as well.
Describe changes accurately
Name visible repairs and disclose colorization, reconstructed regions, or object removal. Check that the comparison export did not introduce new compression artifacts on one side. Keep the source available for family review. A convincing presentation should let viewers notice unwanted facial or text changes as readily as improved cleanliness and contrast.
Check before finishing
- The actual input is shown.
- Scale and framing are comparable.
- Interpretive changes are disclosed.
Continue with a related guide
Try a restoration on a copy of your photo
Keep the original scan. Upload a separate digital copy, review ImgHeal’s generated result, and decide whether it suits your needs.
Open ImgHeal