How to Keep Pale Photo Borders Visible During Scanning
By ImgHeal · Updated
Use deliberate framing and a checked scan region when a pale print boundary disappears against the scanner background.
Explore this topic: Improve capture and editing
Inspect the physical boundary
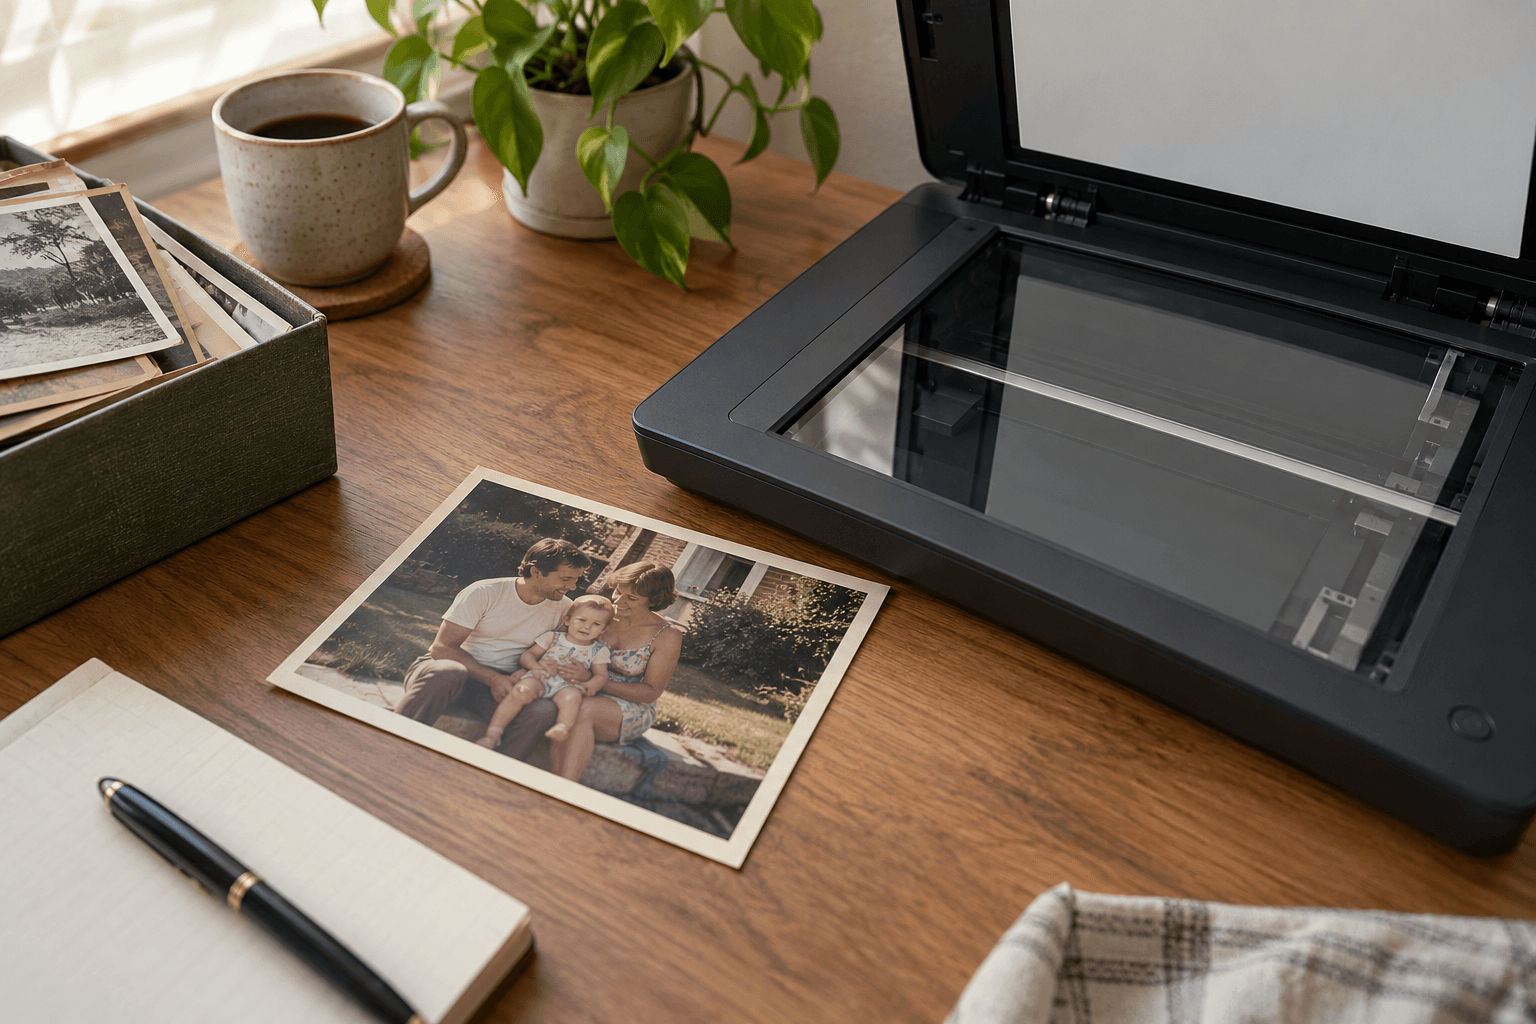
Note where the print ends before scanning and preserve a little space around it. Automatic detection can confuse a pale border with its surroundings. Do not mark the print to make the edge visible. If a background aid is appropriate, follow safe handling and equipment guidance without putting adhesive or abrasive material against the photograph.
Select a complete region
Preview the whole object and choose a scan area that includes every corner. Disable an unsuitable automatic crop where the software allows it. Inspect the saved file, since a preview selection can still be followed by automatic trimming. Keep any irregular edge rather than forcing a hand-cut print into an assumed rectangle.
Make a separate display crop
Retain the full capture with its border evidence, then crop a duplicate for restoration or sharing. Record the source relationship. Compare faces and inscriptions near the edge before accepting the crop. A complete capture allows later layouts to use a different border treatment without needing another handling session with the original print.
Check before finishing
- The physical edge is understood.
- The final scan includes every corner.
- Display cropping uses a duplicate.
Continue with a related guide
Try a restoration on a copy of your photo
Keep the original scan. Upload a separate digital copy, review ImgHeal’s generated result, and decide whether it suits your needs.
Open ImgHeal