How to Keep an Original Vignette During Photo Restoration
By ImgHeal · Updated
Distinguish deliberate edge darkening or soft fading from damage before restoring an old studio portrait or decorative print.
Explore this topic: Assess photo damage
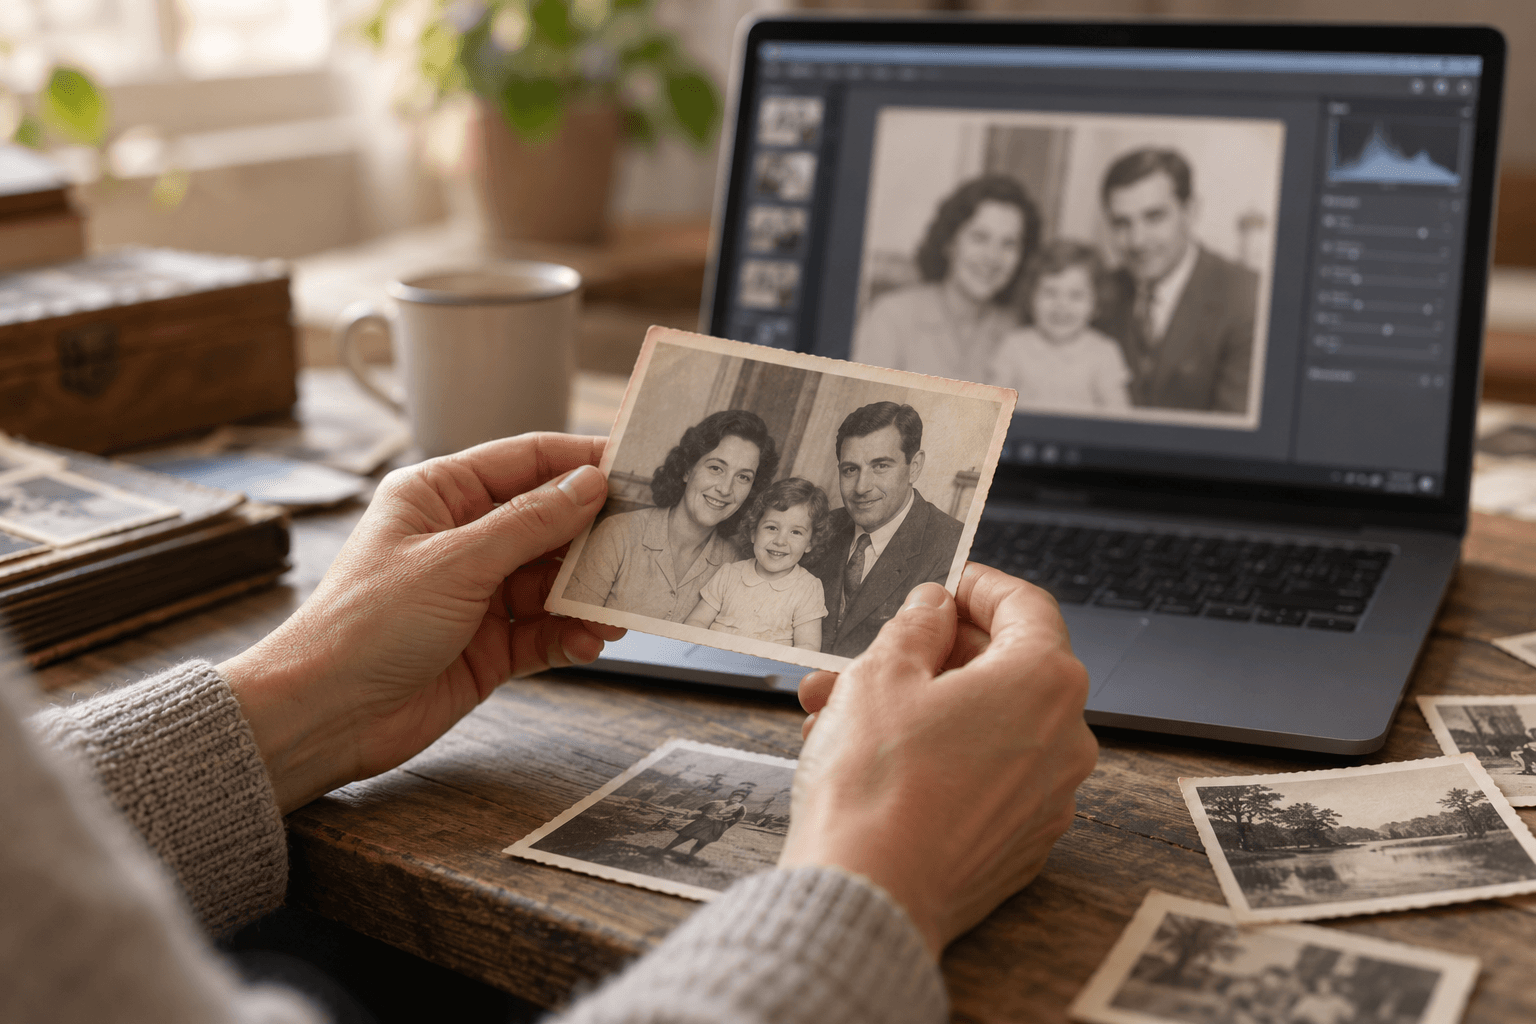
Inspect the transition around the subject
Look for a smooth, compositionally balanced fade that directs attention toward the face. Compare all sides and any surviving matching prints. Uneven deterioration can resemble a vignette, and a vignette can coexist with stains. Record the observable transition rather than deciding from one dark corner that the whole border needs repair.
Protect the intended edge treatment
Make tonal adjustments on a duplicate and compare their effect on the perimeter. A global contrast increase may turn a gentle transition into a harsh ring. If local corrections are needed, use a separate editor and keep the subject boundary soft where the source supports it. Avoid drawing a crisp outline into the fade.
Review at the planned display size
Judge whether the restored version retains the portrait's balance at normal viewing distance. Compare the source and edit together, with similar surrounding backgrounds. Keep an alternate evenly toned version only if wanted and label it as a presentation choice. A modern-looking border should not silently replace an original artistic treatment.
Check before finishing
- A deliberate transition was considered.
- Subject edges remain source-based.
- Presentation changes are labeled separately.
Continue with a related guide
Try a restoration on a copy of your photo
Keep the original scan. Upload a separate digital copy, review ImgHeal’s generated result, and decide whether it suits your needs.
Open ImgHeal