How to Print a Detail Test at the Final Enlargement Scale
By ImgHeal · Updated
Use a small crop at the same physical scale as the planned enlargement to judge facial detail and artifacts before ordering a full-size print.
Explore this topic: Print and display photos
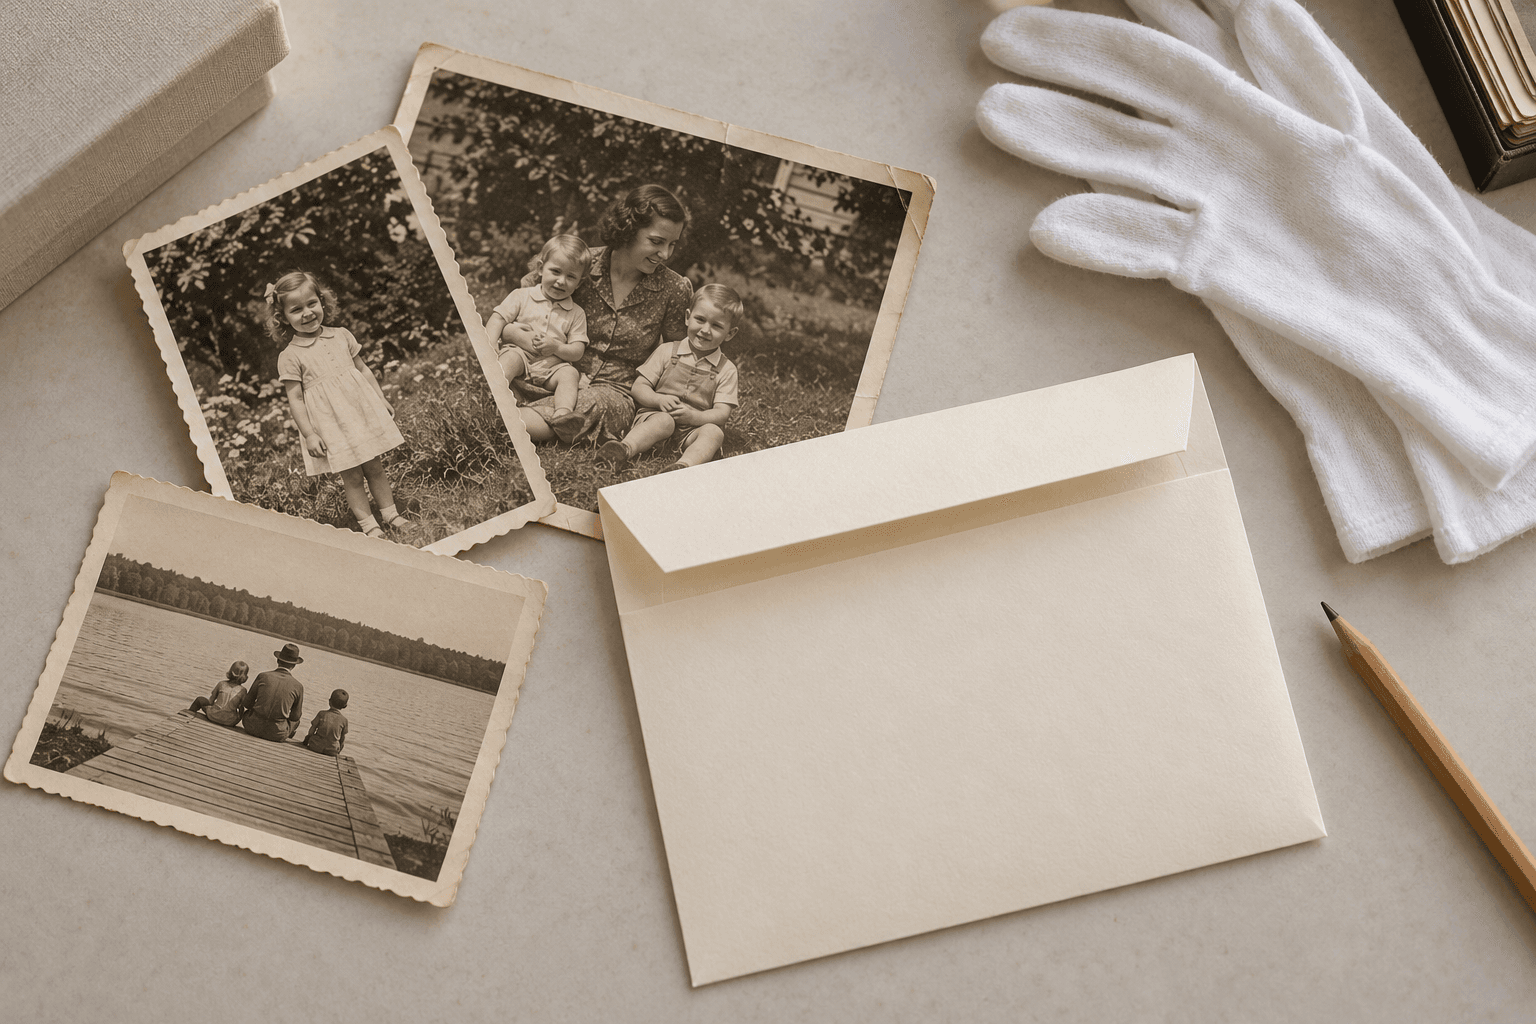
Set the final layout first
Choose the intended full print dimensions and how the photograph will fit. Determine how large the important face or detail will appear. A small complete-photo proof reduces everything and may hide the artifacts that become obvious in an enlargement. Keep the full image's scale as the reference for the test crop.
Export a representative region
Create a separate test containing a face, texture, and a tonal transition at the planned physical scale. Avoid automatic fitting that shrinks the crop again during printing. Include a scale note outside the image if useful. Use the same paper and processing route intended for the final order so the comparison remains relevant.
Judge from normal distance
Inspect the proof both closely and from the expected viewing position. Look for generated facial detail, halos, blockiness, and over-smooth texture. If the result is unsuitable, reduce the enlargement or choose another source rather than assuming more sharpening will help. Retain the accepted crop and settings with the final print export.
Check before finishing
- The crop matches final physical scale.
- Paper and processing match the planned order.
- Artifacts were judged at normal viewing distance.
Continue with a related guide
Try a restoration on a copy of your photo
Keep the original scan. Upload a separate digital copy, review ImgHeal’s generated result, and decide whether it suits your needs.
Open ImgHeal