Why a Printed Photo Can Have Doubled Edges Even When the File Is Sharp
By ImgHeal · Updated
The edge of a jacket or window appears twice on the printed photograph, although it looks normal in the exported file. A small printer-alignment test can help separate an output fault from real image softness.
Explore this topic: Print and display photos
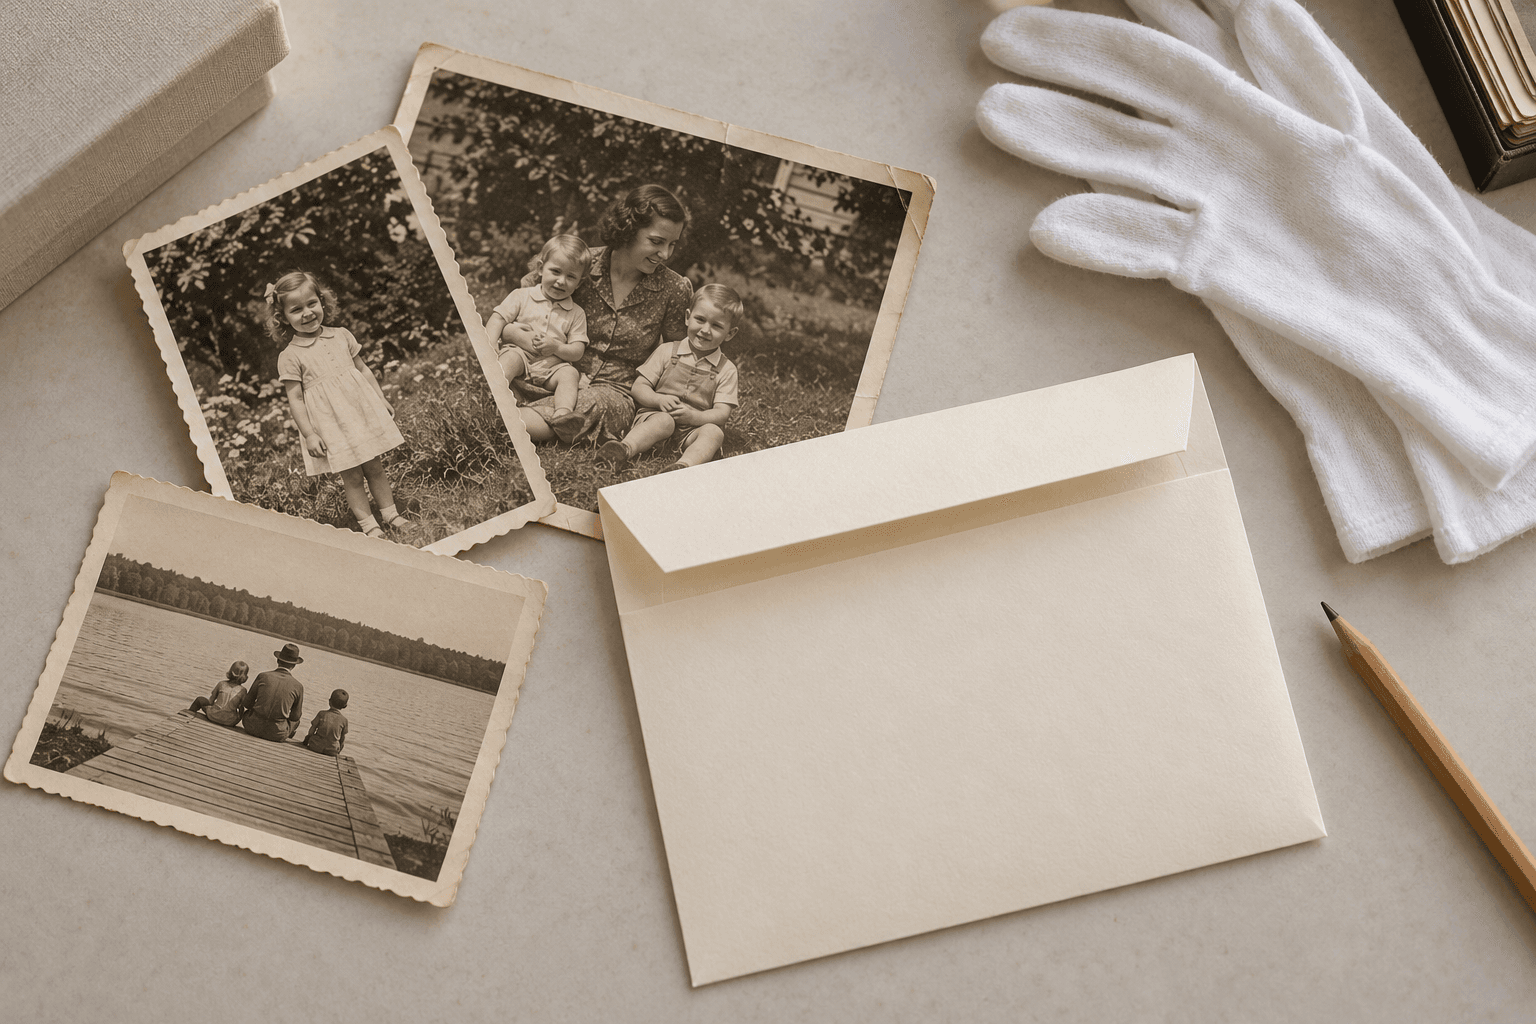
Compare more than one kind of edge
Inspect a vertical door frame, lettering, and a face boundary in the same exported image. Then compare their appearance on paper. Note whether the doubling follows a consistent direction across unrelated subjects. This pattern can suggest a printer issue, but it does not diagnose the mechanism by itself. Keep the file and the first faulty proof as references.
Run the correct alignment routine
Find the alignment instructions for your printer and use the specified test paper. On the referenced Epson model, the process prints patterns that the user evaluates for separation or overlap. Other models may measure patterns automatically. Complete the documented routine rather than choosing a correction from the portrait alone, and do not interrupt a pattern while it is printing.
Separate alignment from other print defects
A nozzle problem can also create gaps or uneven detail, so review the manufacturer's quality diagnostics alongside alignment. Use one fresh proof after the recommended adjustment. Keep paper type and file settings consistent during the comparison. If the image itself shows doubled contours at actual pixels, investigate capture movement or editing instead of repeatedly adjusting an otherwise functioning printer.
Judge the intended enlargement
Once the device test is satisfactory, print a small detail at the scale intended for the final photograph. Compare the same jacket seam or frame against the earlier proof. Save the printer settings with that successful test. Avoid adding aggressive sharpening to hide a device fault: it may create halos that become obvious when the image is printed correctly elsewhere.
Check before you finish
- Compare repeated edges across the print.
- Use the model's own alignment test.
- Recheck the corrected output at final enlargement scale.
Sources and further reading
- Epson: Print head alignmentShows how an alignment pattern tests printer output independently of a photograph.
- Epson: White or dark lines in printoutsA manufacturer diagnostic reference for nozzle, media, loading, and print-quality causes of banding.
Questions about this restoration task
Should I choose the sharpest-looking portrait as the alignment reference?
Use the printer's prescribed alignment patterns. The photograph can help confirm the outcome, but subject detail and existing image softness make it a poor substitute for the device test.
Continue with a related guide
Try a restoration on a copy of your photo
Keep the original scan. Upload a separate digital copy, review ImgHeal’s generated result, and decide whether it suits your needs.
Open ImgHeal