Why a Photo Crease Can Look Worse in One Scan
By ImgHeal · Updated
Separate shadows caused by a raised crease from genuine loss of image material before deciding whether another capture could improve the restoration source.
Explore this topic: Assess photo damage
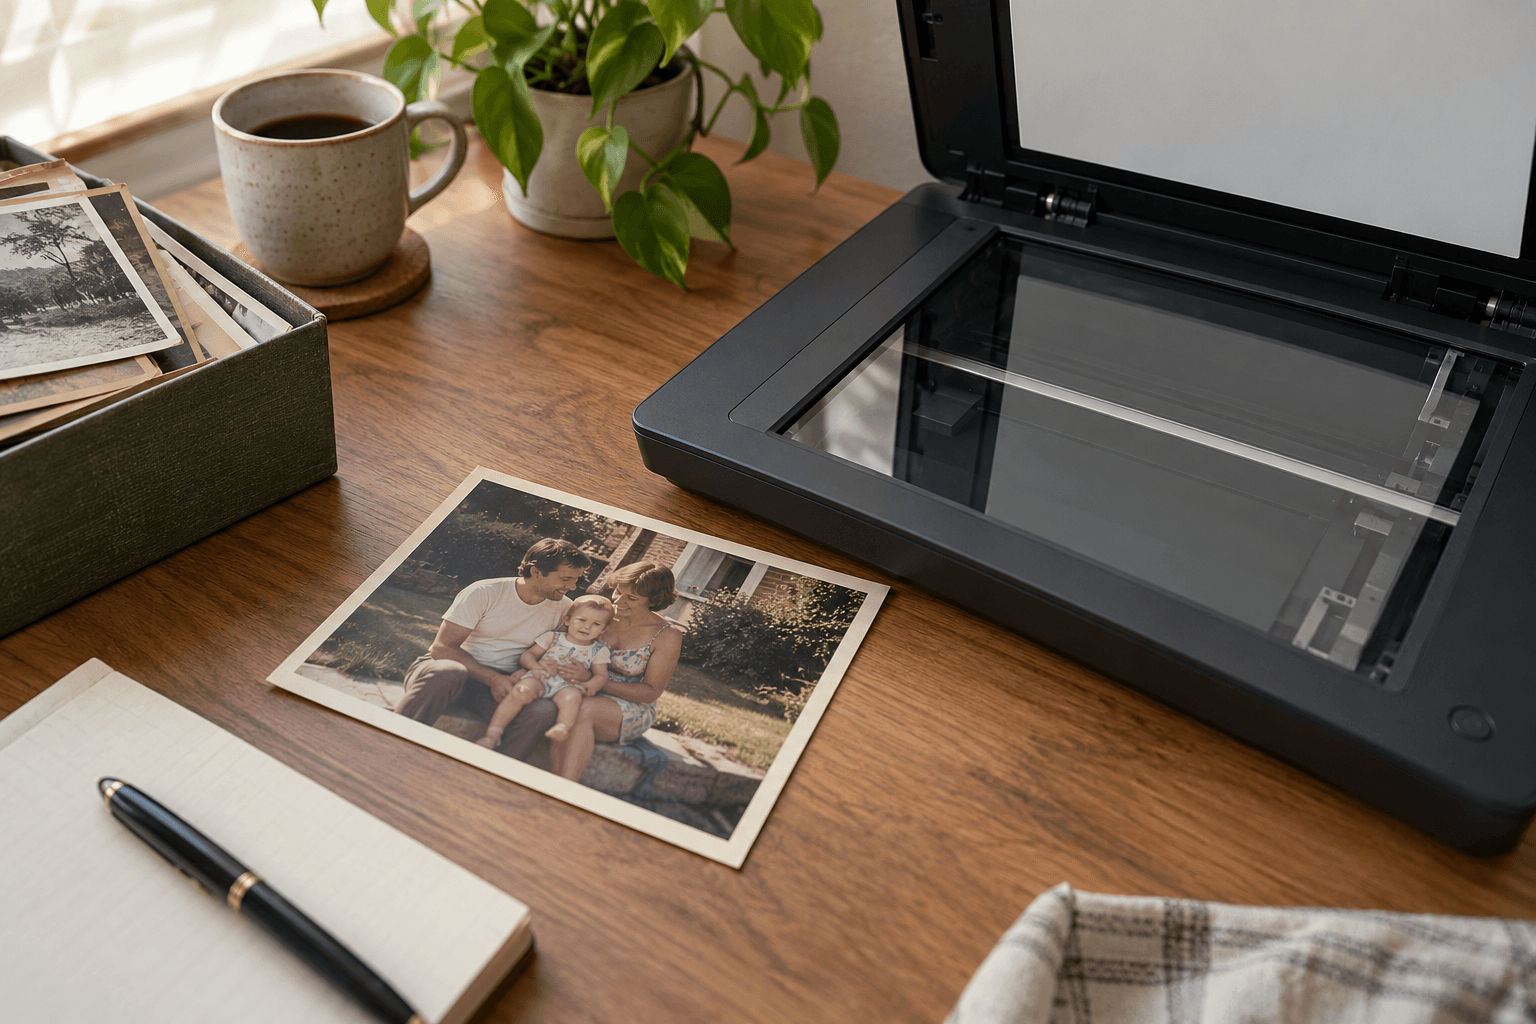
Compare the two sides of the line
Look for a paired bright edge and dark edge along the fold. That pattern can arise from surface relief under directional light. Missing image material may appear pale under several arrangements. Both can occur together, so do not assume every bright portion of a crease is recoverable through a different exposure.
Try an appropriate recapture
If the print is stable, compare a supported camera copy under broader light with the scan. Keep its natural resting shape and do not press the crease flat. Capture the full frame so the line can be located afterward. Stop if moving the photograph threatens loose image material or a brittle support.
Repair with the evidence available
Use the clearer capture as the restoration source and retain the relief reference. Inspect faces and thin outlines where the crease crosses them. A smooth replacement can be plausible without being faithful. Leave unresolved facial detail soft rather than using a sharp generated contour as evidence of the person's original appearance.
Check before finishing
- Relief and image loss were considered separately.
- The crease was never forced flat.
- Sensitive contours were compared with the source.
Continue with a related guide
Try a restoration on a copy of your photo
Keep the original scan. Upload a separate digital copy, review ImgHeal’s generated result, and decide whether it suits your needs.
Open ImgHeal