How to Reduce a Phone Reflection in a Glossy Photo Copy
By ImgHeal · Updated
Recognize the camera or operator reflected in a glossy print and improve the copying setup before trying to erase the reflected shape digitally.
Explore this topic: Improve capture and editing
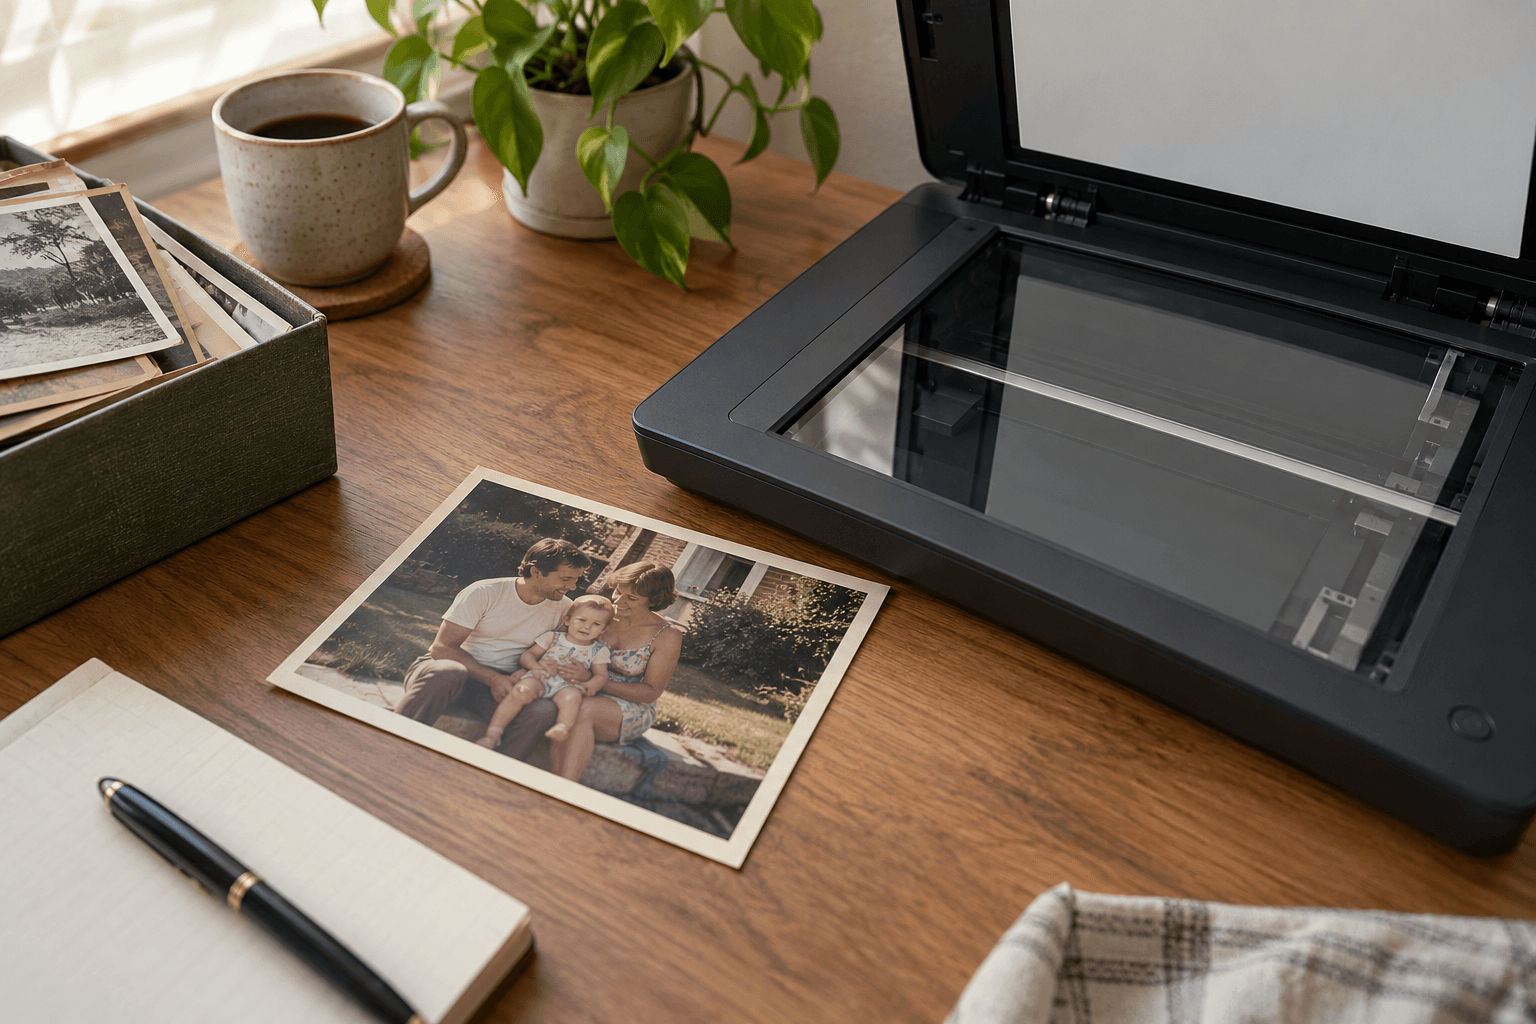
Identify what is reflected
Look for a dark rectangle, bright screen, or silhouette that moves when the phone or operator changes position. Compare it with the scene underneath. A reflection can hide genuine image information, so removing its outline alone may not restore the covered content. Keep one full-frame reference showing where the interference occurred.
Change the light arrangement
Use broad light arriving from positions that do not reflect directly into the lens. Keep the camera parallel while adjusting lights or surrounding bright surfaces. Avoid blocking the print with your own shadow. Take several complete trial frames and compare them rather than tilting the photograph or pressing a curled surface flat.
Choose the least-obscured source
Inspect faces and dark regions in the selected frame at matching scale. If a reflection remains, note the limitation before restoration. A generated replacement may be plausible rather than source-based. Preserve the original capture and prefer a restrained edit over a confident invented feature where the reflected phone has hidden important detail.
Check before finishing
- The interference was confirmed as a reflection.
- Lighting changed without stressing the print.
- The selected frame preserves important detail.
Continue with a related guide
Try a restoration on a copy of your photo
Keep the original scan. Upload a separate digital copy, review ImgHeal’s generated result, and decide whether it suits your needs.
Open ImgHeal