How to Copy a Photograph Transferred onto Wood
By ImgHeal · Updated
Record wood grain, surface texture, and image boundaries before creating a viewing copy of a photograph transferred onto a wooden object.
Explore this topic: Scan special originals
Capture the object and image
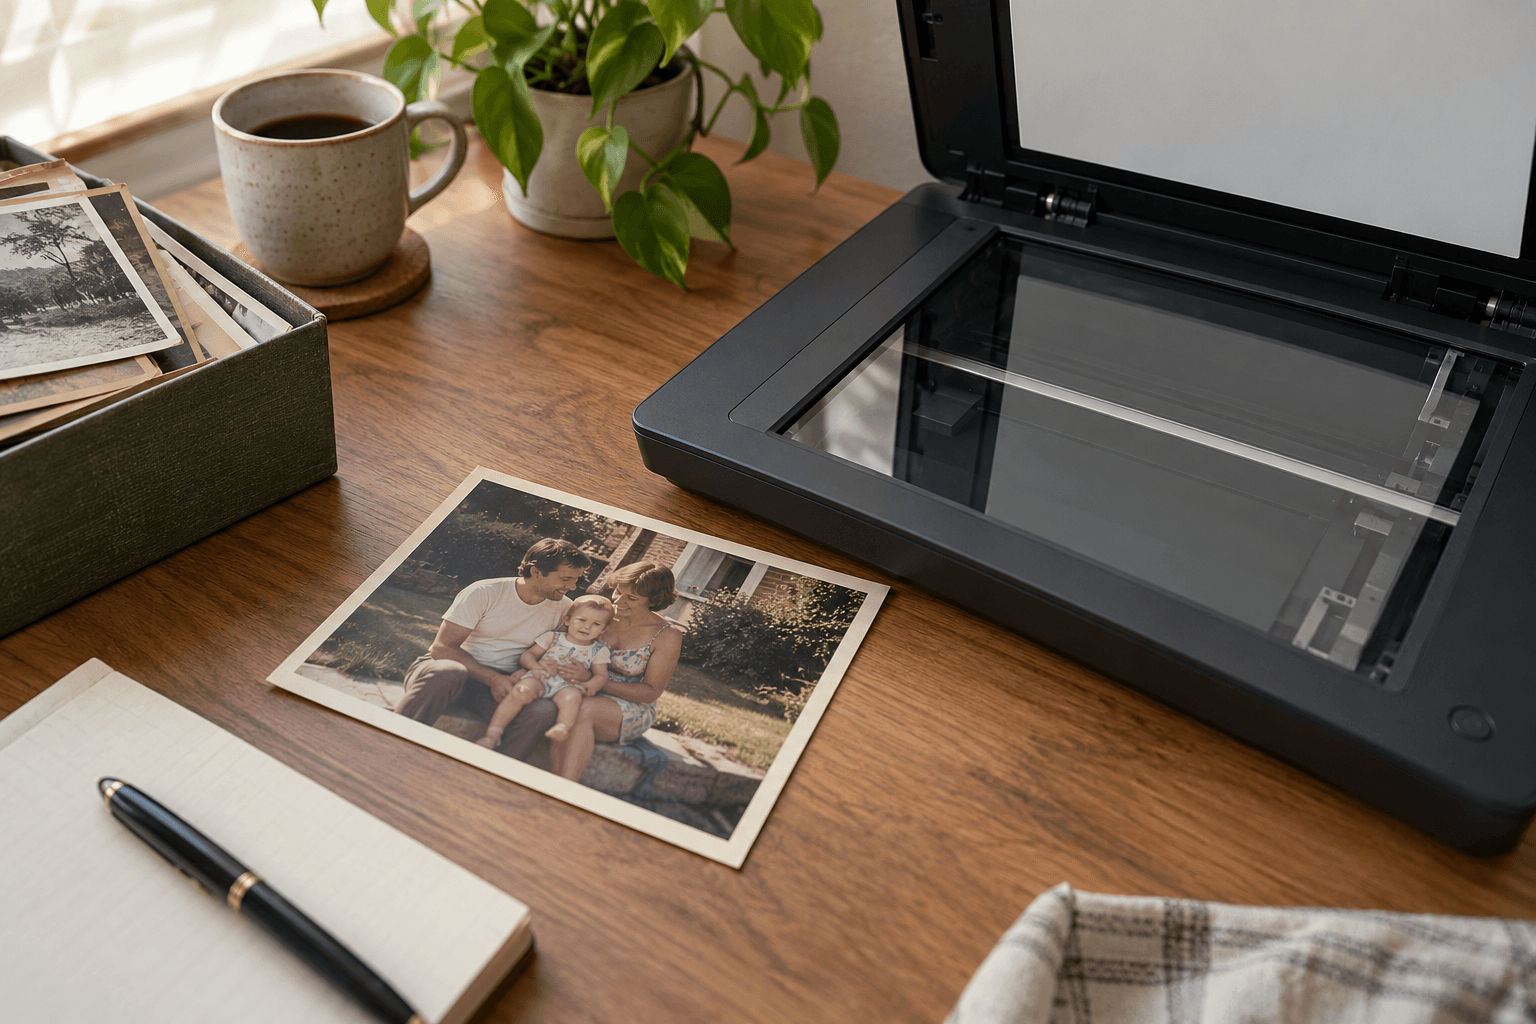
Photograph the complete object and a closer view under broad light. Keep the surface untouched and do not apply polish or moisture to improve contrast. Note where the photographic image ends and natural grain continues. A flatbed may be unsuitable for a thick or uneven object even if part of it fits on the glass.
Separate grain from depicted detail
Follow wood patterns across faces, clothing, and background regions. They may interfere with the image but remain part of the transferred object's appearance. Look for an earlier paper or digital source before attempting extensive removal. A digital restoration can invent skin or background where the transfer never preserved clear photographic detail.
Label the viewing purpose
Keep the full object record and make cleanup on a separate derivative. State whether the aim is to show the transfer as an artifact or approximate the underlying photograph. Document substantial grain removal and compare sensitive features with the source. A smooth result is an interpretation when the original image information is no longer available.
Check before finishing
- The surface receives no treatment.
- Wood patterns are distinguished from image content.
- Artifact and viewing versions have clear roles.
Continue with a related guide
Try a restoration on a copy of your photo
Keep the original scan. Upload a separate digital copy, review ImgHeal’s generated result, and decide whether it suits your needs.
Open ImgHeal