How to Review Glass and Reflections in a Colorized Photo
By ImgHeal · Updated
Check transparent objects and reflected colors so a colorized family photo does not turn glass into opaque paint or confuse reflections with the scene behind it.
Explore this topic: Colorize with context
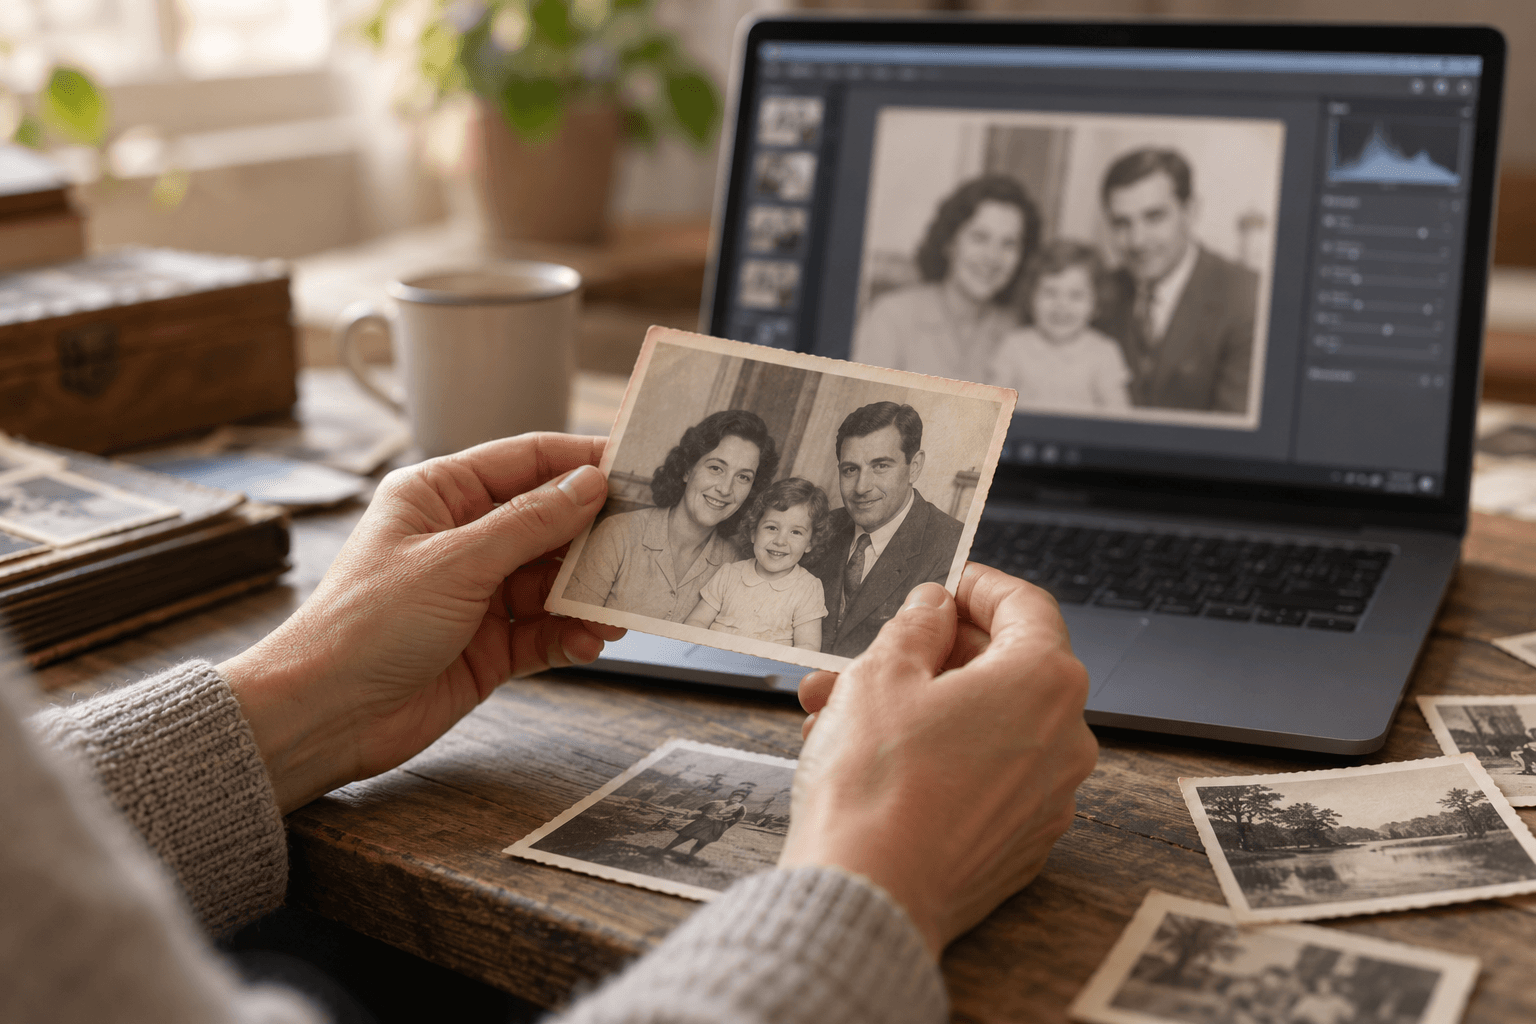
Read the transparent structure first
Locate object edges, highlights, and visible background detail in the monochrome source. Glass can contain both transmitted and reflected information. Note where the source is too bright to show either. A generated solid color in that region does not reveal the original glass tint or the color of the objects behind it.
Compare color boundaries
Look for abrupt color changes that ignore a glass rim, window frame, or reflection boundary. Check whether skin or clothing colors spread into a bottle or pane. Preserve source highlights rather than painting them to match surrounding objects. A local color change should remain consistent with the recorded transparency and light direction.
Choose a restrained interpretation
Judge the full scene and keep uncertain glass color subtle. Use a separate editor if specific local changes are needed, and retain the original monochrome file. Document reference images used for an identifiable object. Similar modern glassware can suggest a possibility, but cannot authenticate the color of the photographed heirloom.
Check before finishing
- Transparency follows the source.
- Color does not cross object boundaries.
- Uncertain glass tints stay labeled as interpretation.
Continue with a related guide
Try a restoration on a copy of your photo
Keep the original scan. Upload a separate digital copy, review ImgHeal’s generated result, and decide whether it suits your needs.
Open ImgHeal