How to Limit Photoshop Dust & Scratches Without Blurring the Whole Photo
By ImgHeal · Updated
A filter may remove dust beautifully from a plain wall and also flatten a person's face. Photoshop's Dust & Scratches is designed to address isolated defects, but its useful settings depend on the source. Restrict the experiment before accepting a uniformly smooth photograph.
Explore this topic: Improve capture and editing
Choose defects and protected details
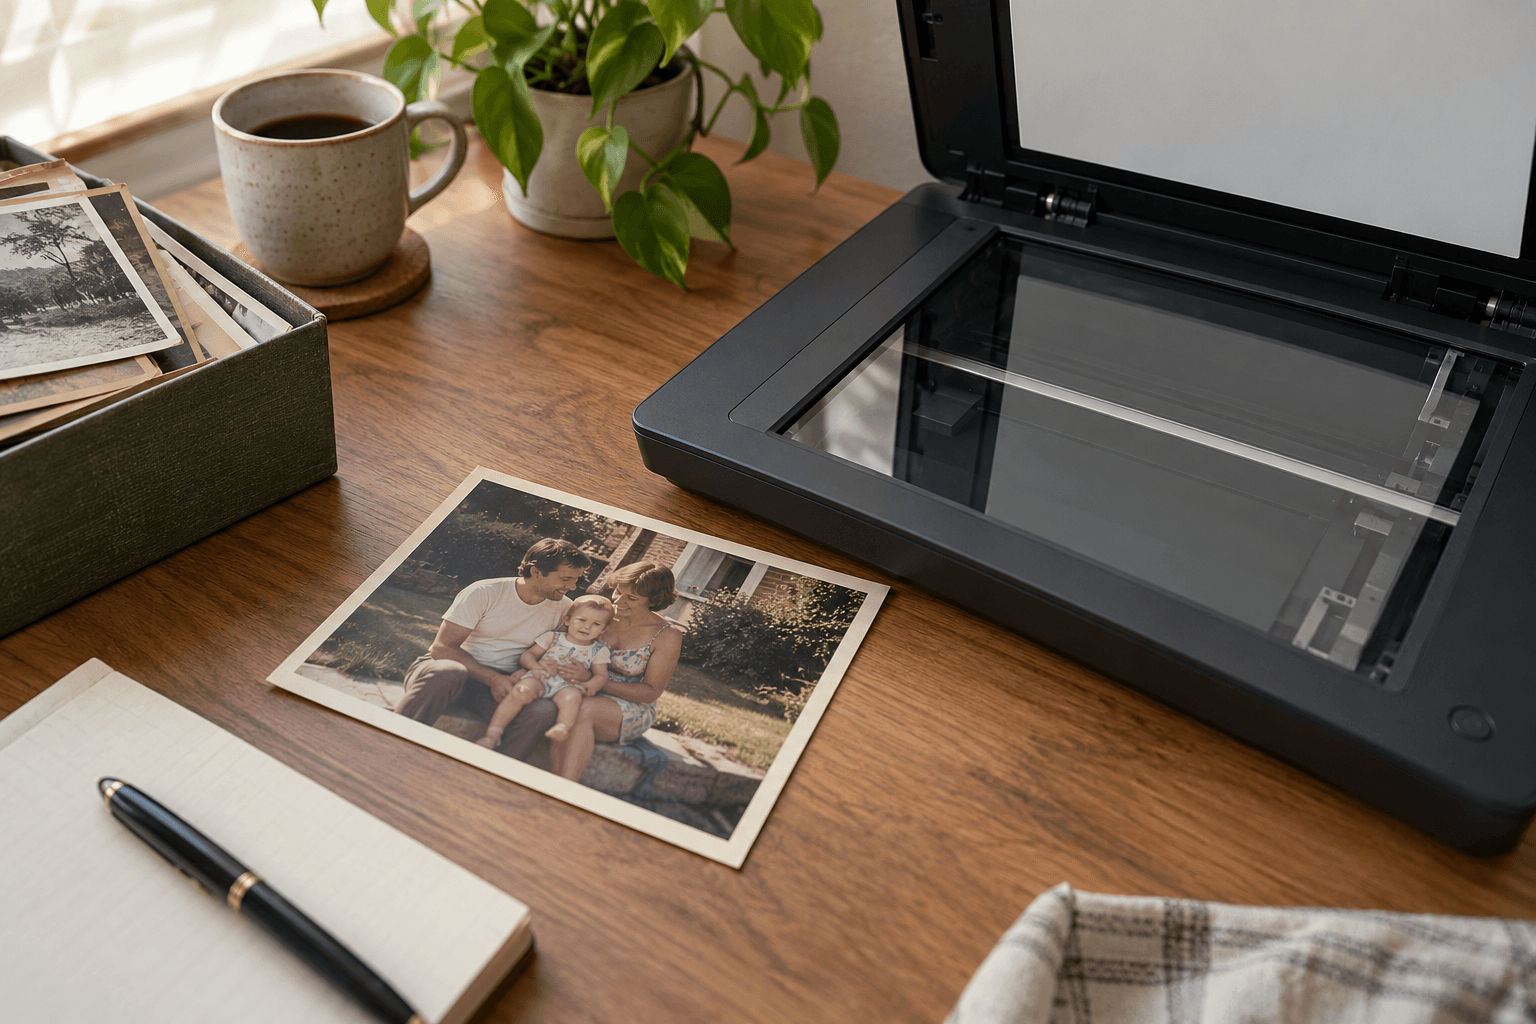
Keep the source scan separate and create a reversible working arrangement. Identify one clear defect beside a genuine detail of comparable size, such as a dust mark near a button or printed letter. Inspect whether the mark is actually source damage rather than part of the scene. Save a close reference before filtering. A preview containing only an empty background can encourage settings that look successful there but remove meaningful detail everywhere else in the photograph.
Test Radius and Threshold together
Start with the documented filter controls on a small region. Radius changes the neighborhood examined, while Threshold changes which differences are treated. Increase cautiously and compare the true detail after every useful-looking defect reduction. Higher threshold can retain more detail while leaving some defects visible; a broad radius can blur more of the source. There is no requirement that the trial remove every mark. A small remaining spot may be better handled individually than by raising a global setting until texture disappears.
Reveal only the useful result
Use an editable layer or supported filter mask to limit the accepted correction. Check which other effects share that mask before painting exclusions. Review the repair at ordinary size and at actual-pixel scale, especially across faces and lettering. Remove any extra smoothing applied while trying to make a difficult defect fit the filter. Save the unfiltered source and project separately from the delivery image. The filter's clean output is a processed interpretation of neighboring pixels, not direct evidence that missing original texture has been recovered.
Check the working document
- A real detail was included beside the test defect.
- Radius and Threshold were adjusted conservatively.
- The accepted result has deliberate local coverage.
Sources and further reading
- Adobe: Dust & ScratchesExplains local defect filtering, Radius, Threshold, and retained-source workflows.
Questions about this restoration task
Why leave some dust when the filter can remove it all?
A stronger setting may erase equally small genuine detail. Use the filter where its benefit is clear and handle remaining marks individually when appropriate.
Continue with a related guide
Try a restoration on a copy of your photo
Keep the original scan. Upload a separate digital copy, review ImgHeal’s generated result, and decide whether it suits your needs.
Open ImgHeal